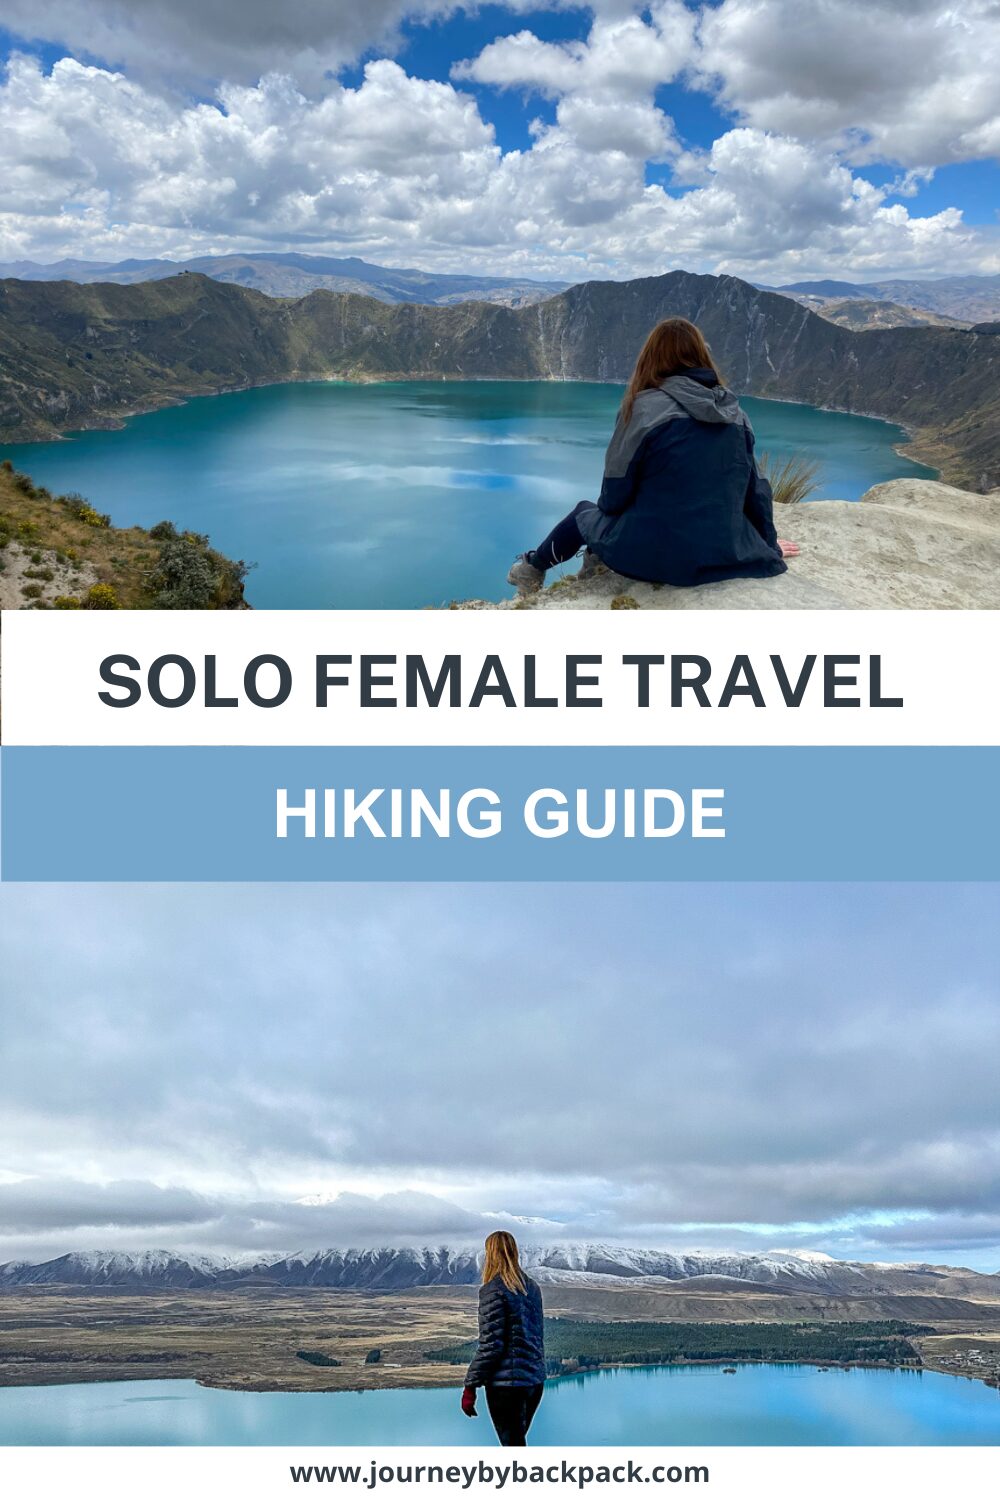
Solo Female Hiking: Guide & Helpful Tips for Hiking Alone
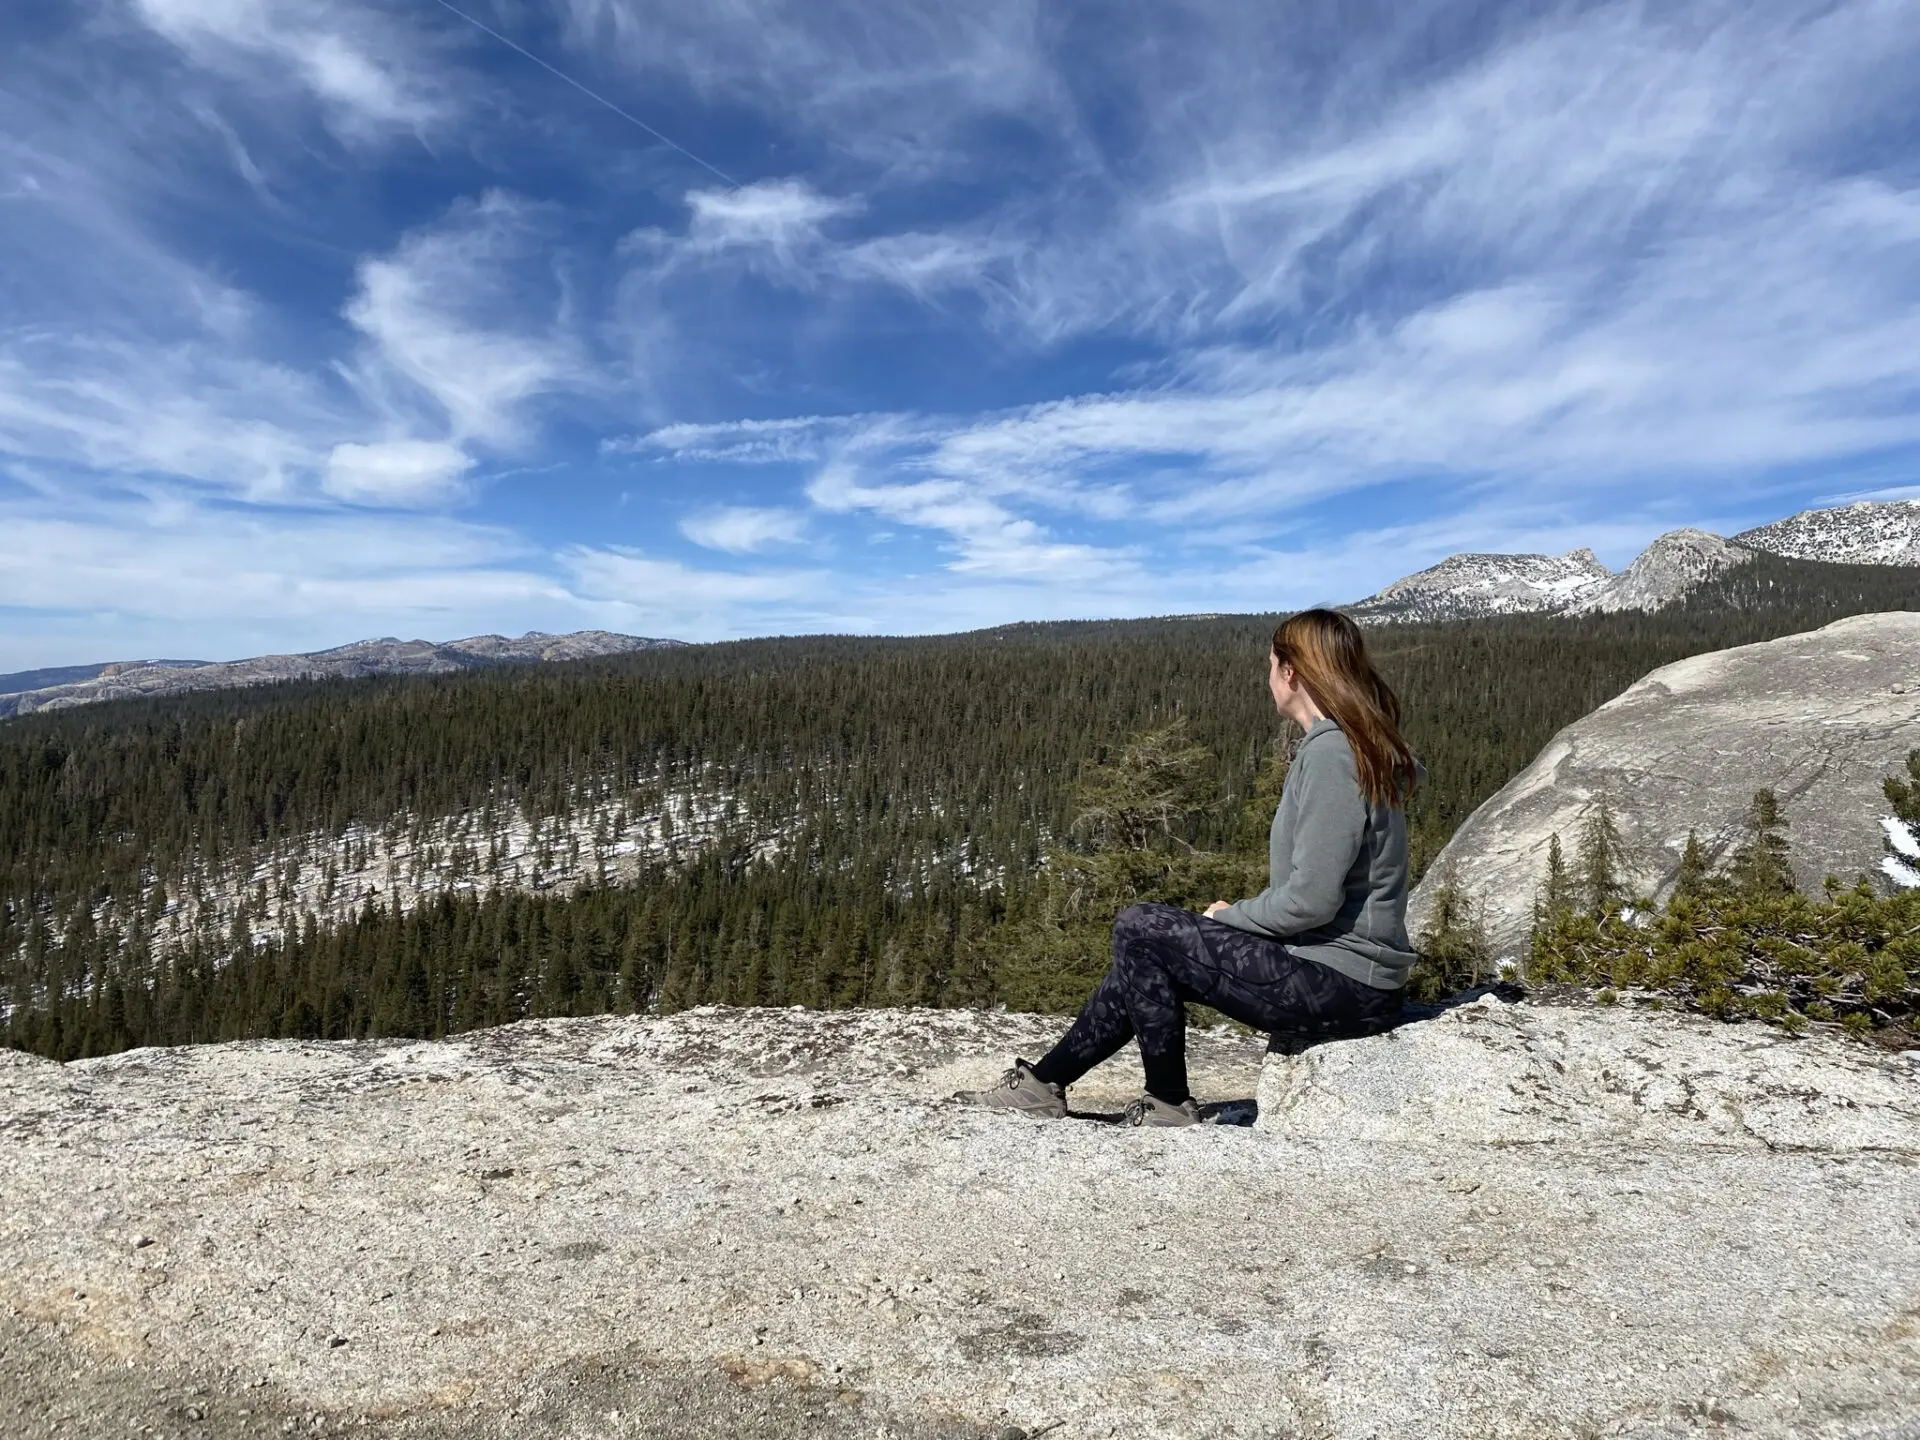
Have you ever skipped a hike because you were too scared to hit the trails alone? Well, here I am to help.
Hiking is one of my favourite things to do. There’s nothing better than being out on the trails surrounded by beauty. However, it took me a while to get the confidence to do it alone. When I first started travelling, I was often too scared to go on solo hikes, and I missed out on so many amazing ones.
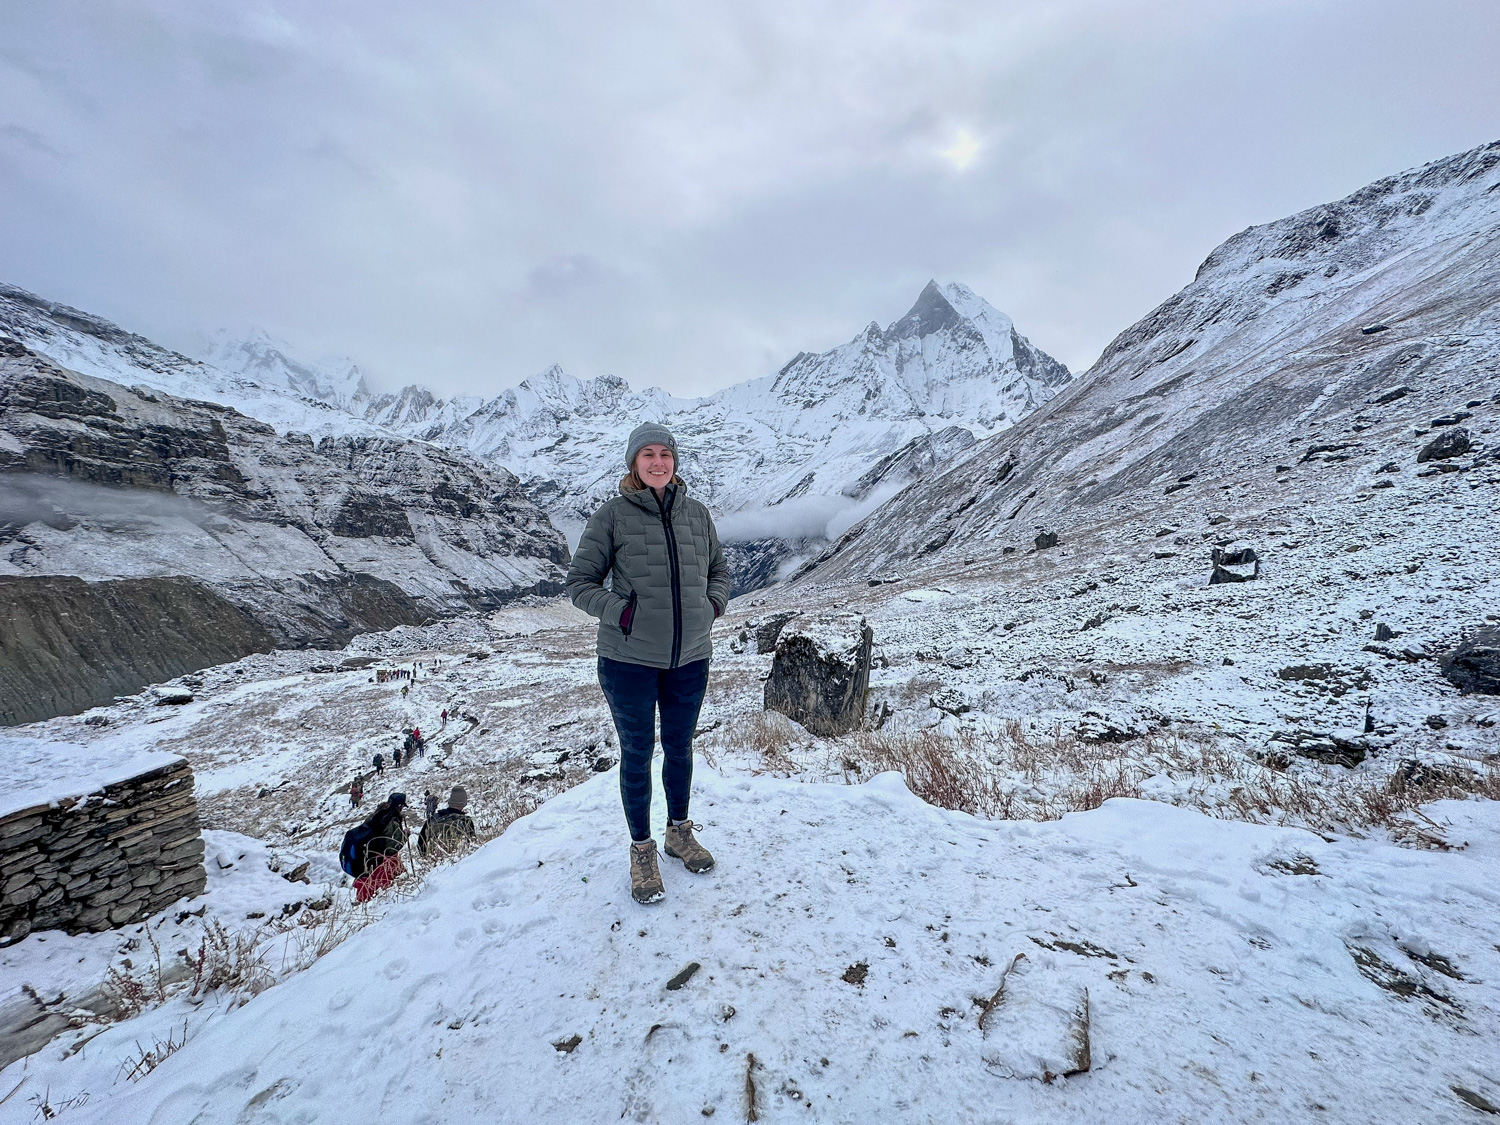
Now, after four years of travel, I’ve gained the confidence to go hiking alone, and I actually very much enjoy it. I’ve hiked alone all over the world, including New Zealand, Nepal, Patagonia and Bolivia, and it’s one of my favourite things to do.
In this post, I’ve shared the ultimate solo hiking tips, as well as some essential safety tips I’ve learned over the years to help keep you safe on the trails. This is all based on my experience as a solo female hiker.
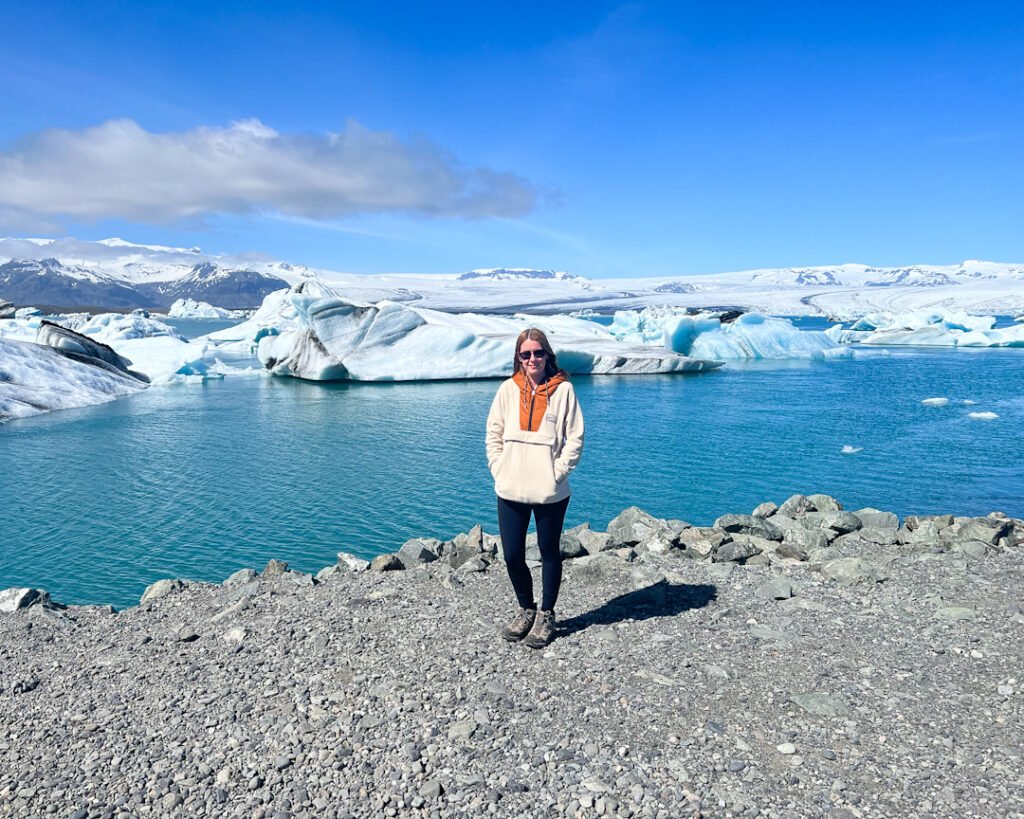
The benefits of solo hiking
The thought of hiking alone can be scary, especially if it’s your first solo hike. ‘What if I get lost?’ ‘What if something happens to me?’ ‘What if I injure myself?’ These are all valid questions that go through my head when planning a solo hike. However, with the correct preparation, most of these fears can be put to rest.
Here are just a few of the benefits:
- Confidence: Hiking alone as a solo female hiker has boosted my confidence. You only have yourself to rely on, and you’ll be so surprised at what you’re capable of.
- Freedom: One of the best parts about hiking solo is that you have complete freedom to do it on your own terms. You can go at your own pace, decide when to take a break, and spend as much (or little) time on the trail as you please.
- Space to think: Hiking alone might sound boring, but it’s a great time to give yourself time to reflect and think. Whenever I’m anxious or stressed about something, a hike provides me the mental space to think and reflect.
- Be pushed out of your comfort zone: If you’re looking for a new challenge, a solo hiking trip is a great way to be pushed out of your comfort zone.
- Sense of achievement: Not many people in the world will happily go out and hit the trails alone. If you complete a hike solo, you know you’ve done it entirely by yourself, and that’s something to be proud of.
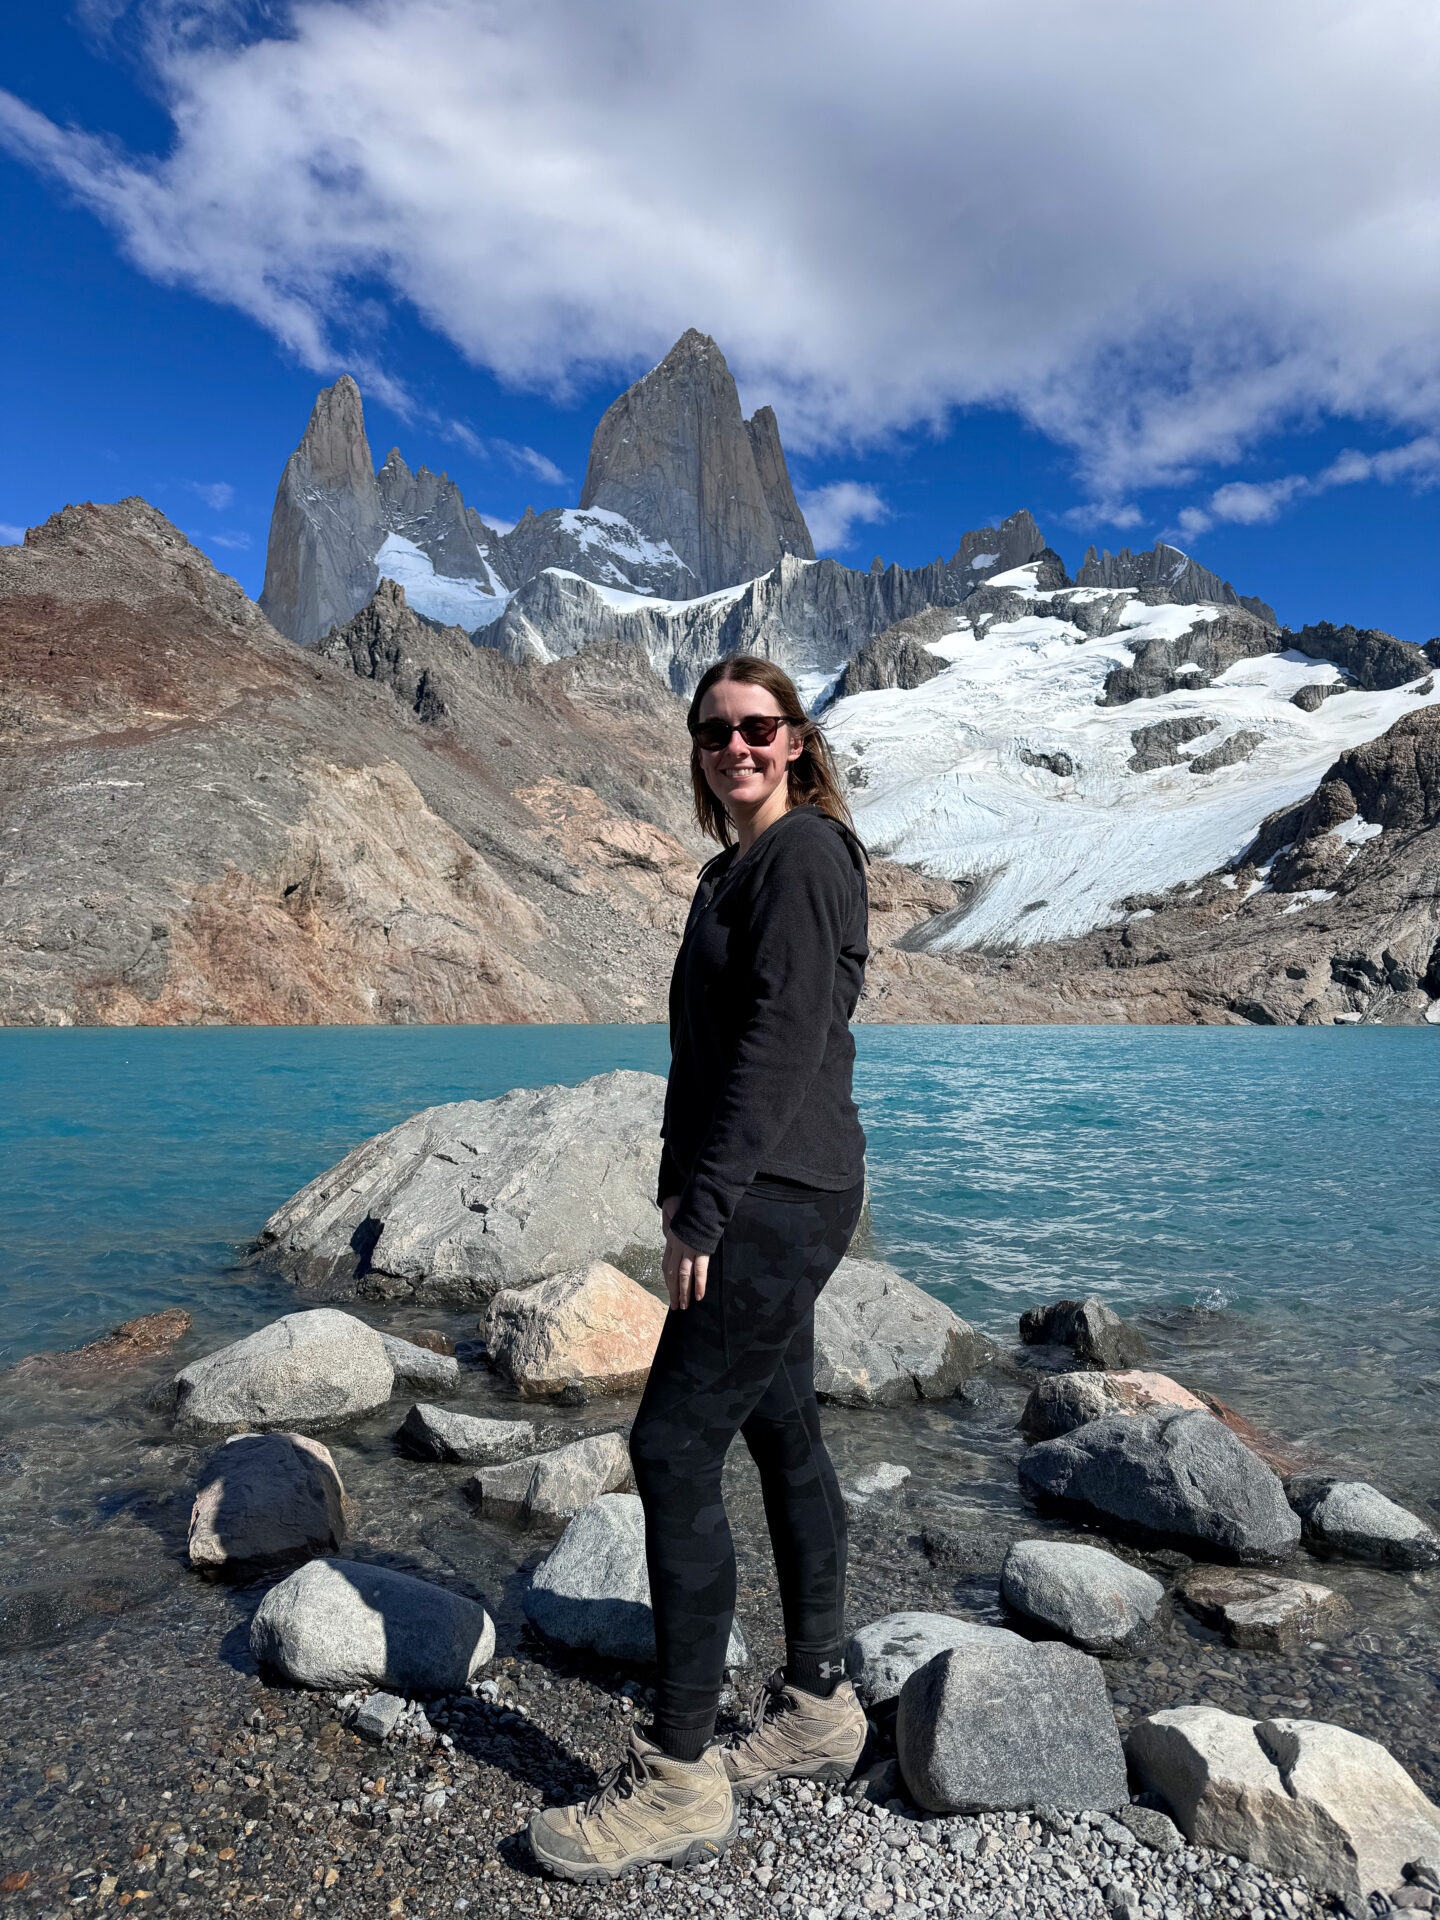
Solo hiking safety
While I genuinely believe solo hiking is fantastic, it is also important to be prepared and realistic. Before hitting the trail, there are a few things to consider. These are not questions meant to put you off solo hiking, but to make sure you are fully prepared.
- Is the hike within your realistic abilities?
- What are the potential dangers?
- Will I have mobile phone coverage?
- What are the weather conditions?
- Do I need any special equipment for technical trails?
- Do I have a plan in case of an emergency?
- What are the recent reviews of the hike saying?
I’ve spoken more about the questions above in my tips below.
What to research before a hike
It’s essential to research any hike before hitting the trail. This is especially true for solo hikers in unfamiliar areas. What are the risks? Is the hike within your abilities? Is there any dangerous wildlife?
Here are some elements I believe it’s important to be aware of before starting your solo hike.
Details of the hike
First and foremost, it’s sensible to check the details of the hike, including the distance, potential risks, elevation gain, and terrain.
Imagine going for a quick hike, getting halfway through, and realising you have another six hours ahead of you. However, the sun is starting to set, and you have no supplies, extra layers or head torch.
Or, imagine going for an “easy hike” but being faced with steep and dangerous terrain. This happened to me when I didn’t thoroughly research the Fanthams Peak hike in New Zealand. I thought it would be an easy hike, but it was one of the scariest hikes I’ve ever done.
One of the best ways to check the details is to use the AllTrails App. This helpful app allows you to check the latest information and download an offline version. I get the premium subscription every year, and it’s a firm favourite app of mine. You can also check recent blog posts to get an idea of how the hike is.
Check recent reviews
It’s a great idea to check the recent reviews of the hike. Trail conditions can quickly change, especially with ice and snow. I always check the most recent reviews on AllTrails. It’s also sometimes possible to check on Google Maps by clicking on the trail’s starting point (if it’s marked).
This will also let you know if any route closures could disrupt the hike.
The weather forecast and daylight hours
It might sound obvious, but check the weather conditions before solo hiking. Many emergencies happen when hikers don’t check the weather or think they can hike in extremes. The mountains can be dangerous in the wind, fog, rain and snow, so check this beforehand.
It’s also sensible to check the daylight hours, especially in a new country. If it gets dark at 4 p.m., you don’t want to start a six-hour hike at lunchtime. Make sure you have enough time to complete the hike.
Dangerous wildlife
Always check for dangerous wild animals in the area. Anyone who has hiked in the National Parks of North America or Canada will know about the dangers of bears. However, other places may have lesser-known dangerous animals, such as Mountain Lions or Rattlesnakes.
You can often take safety precautions, such as carrying bear spray or checking where you are walking to avoid snakes. It’s also worth researching how to behave around the animals. What you do if you encounter a bear may differ from what you do if you see a mountain lion.
Another animal to consider is stray dogs. While in Bolivia, locals told me not to hike solo in Tupiza because of dangerous dogs.
I skipped a couple of solo hikes in Canada as I was a bit worried about being approached by a bear.
Tips for solo hiking
Plan ahead
For the best stress-free experience, plan ahead as much as possible. This includes planning your route, what food you’ll need, what clothes or gear might be useful, how to get to the trailhead and back again, and ensuring you won’t get stuck anywhere.
This should help you have peace of mind before the hike.
Stick to the known trails
It’s important to stick to the designated hiking paths. If you wander off a designated trail, you’re more likely to get lost and be in danger.
Secondly, hiking trails are in place for your safety and to protect the local environment and wildlife. Wandering off the paths can cause irreversible damage to the local wildlife.
Download the route offline (and consider a map)
It’s important to download an offline version of the trail (or carry a paper map). If you’re heading into the wilderness on a long hike, you might not always have a mobile phone signal. Having the route available to you even when you can’t access the internet reduces your chances of getting lost. You could also check in with the visitor centre beforehand and see if they have a physical map.
Even if you’re doing a shorter, well-marked trail, it’s worth downloading the route. Especially if it’s your first time hiking the trail. It also lets you see how much of the trail you have left.
My personal favourite app for this is AllTrails. If you subscribe to their premium version, you can download the trail map offline. While on the hike, you can track your progress and keep an eye on it. It will also tell you if you take a wrong turn (one of my favourite features).
If you rely solely on a mobile phone and there is no way to get a physical map, take a portable phone charger with you. You don’t want to be stuck on a mountain without your phone.
Know your abilities and limits
I’m all for pushing and challenging yourself, but knowing your limits is important when solo hiking.
Stick to trails within your abilities and slowly work up to more challenging routes. If you’ve never done a technical hike before, attempting a trail with rock climbing by yourself may not be the best idea, and you could find yourself in danger.
For example, if a hike involves rock climbing or steep scrambling, it might be better to do this with a hiking buddy if it’s something you’ve never done before. You can then work your way up to doing it alone. I’ve been in a couple of situations where I’ve felt out of depth on a hike and had to turn around. It’s not fun.
Only you can decide what you’re capable of. However, taking risks on dangerous mountain trails isn’t advised.
Consider hiring a guide or joining a group for tougher hikes
If there’s a hike you want to do but are worried about the terrain or technicalities, consider hiring a guide. They can provide you with all the right equipment and share some tips on how to do it safely.
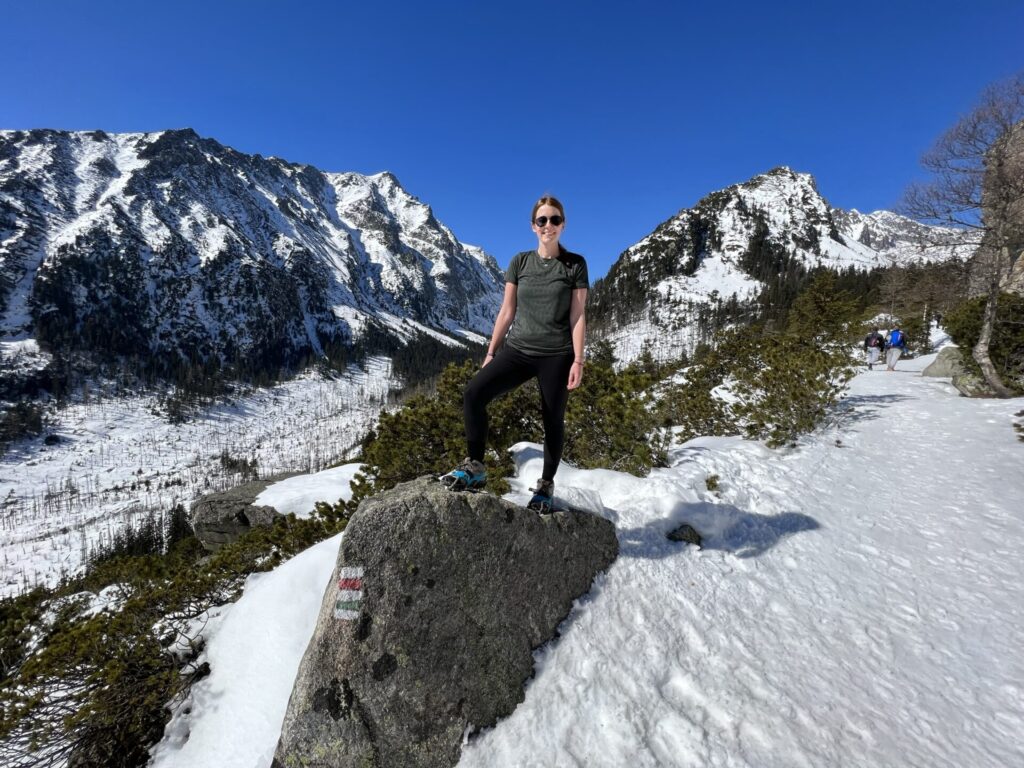
I was desperate to do winter hiking in Slovakia, but I had never hiked in deep snow. In the end, I opted to join a small-group tour. The guide taught us how to use the equipment and gave me the confidence to do it solo next time. It was a great way to learn new skills.
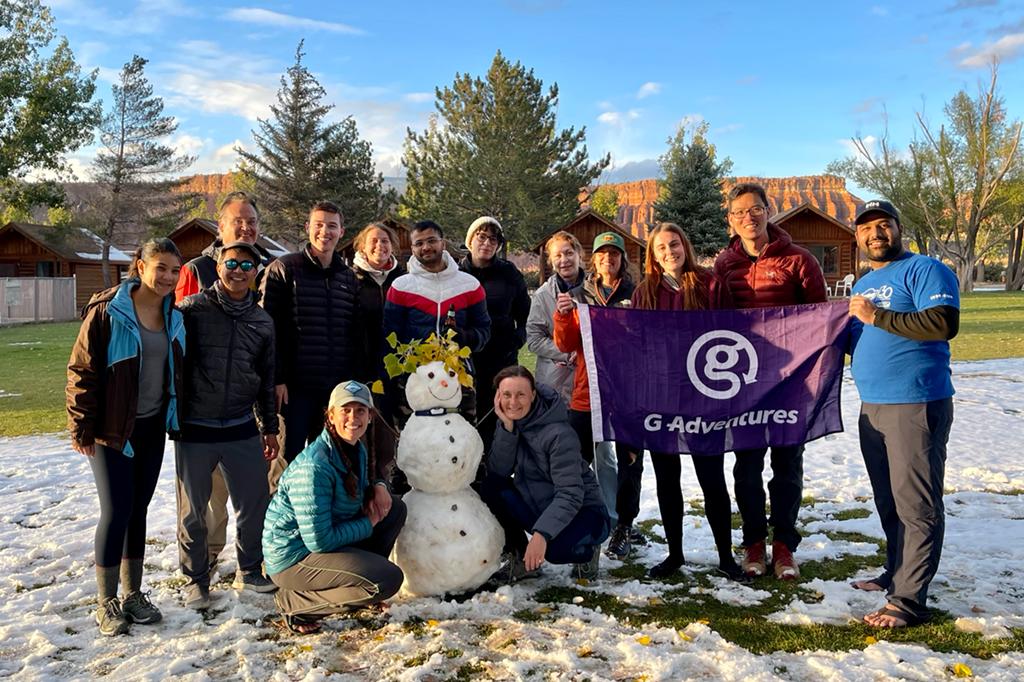
Both G Adventures and Much Better Adventures have some great hiking tours. I’ve hiked with G Adventures in Nepal and the USA. I also hiked with Much Better Adventures in Guatemala and had the best time.
Be prepared for all weather
As I mentioned above, checking the weather forecast in advance is one of the most important things when planning a hike.
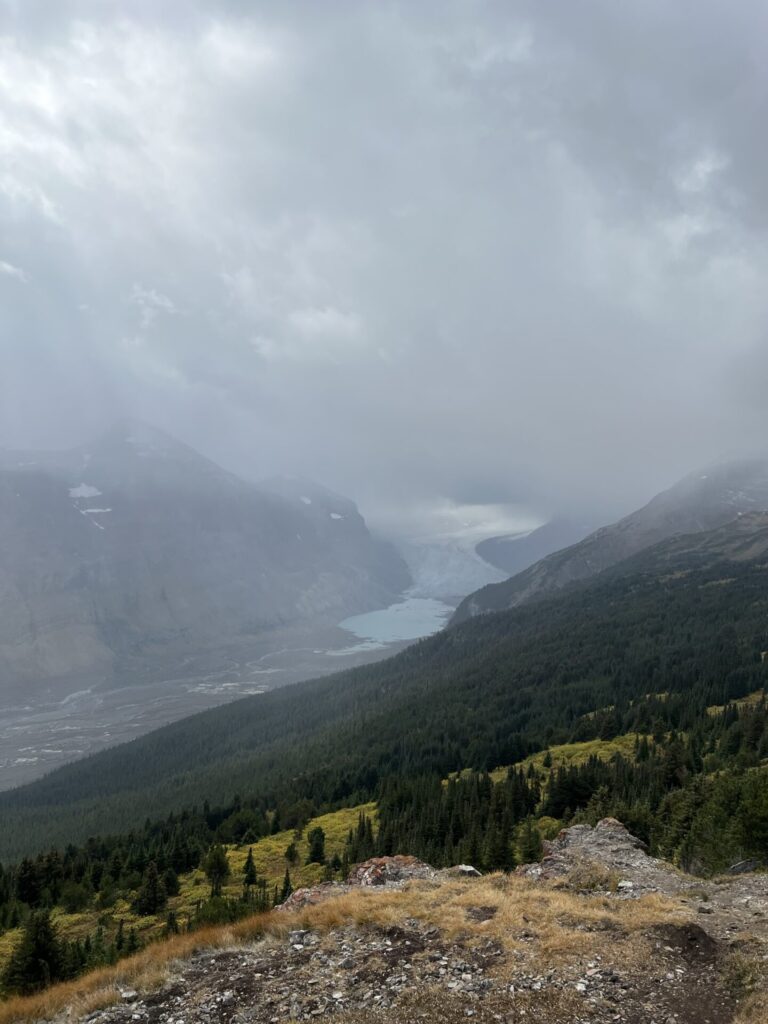
If the weather is looking nasty, consider doing the hike another time. Hiking in bad weather can be dangerous (depending on the environment) – it’s easy to get lost, and you could have an accident. Wait until the weather is in your favour. If you’re on the trail and the weather isn’t looking great, there’s no shame in turning around and trying again another time.
Even if the weather forecast says one thing, it’s important to be prepared for any weather. Remember that the weather can change quickly in the mountains and be very unpredictable. I always carry extra layers and waterproofs, even if it’s not forecast to rain.
Wear the right clothes
Once you’ve researched the hike and checked the weather, you can decide what’s appropriate to wear.
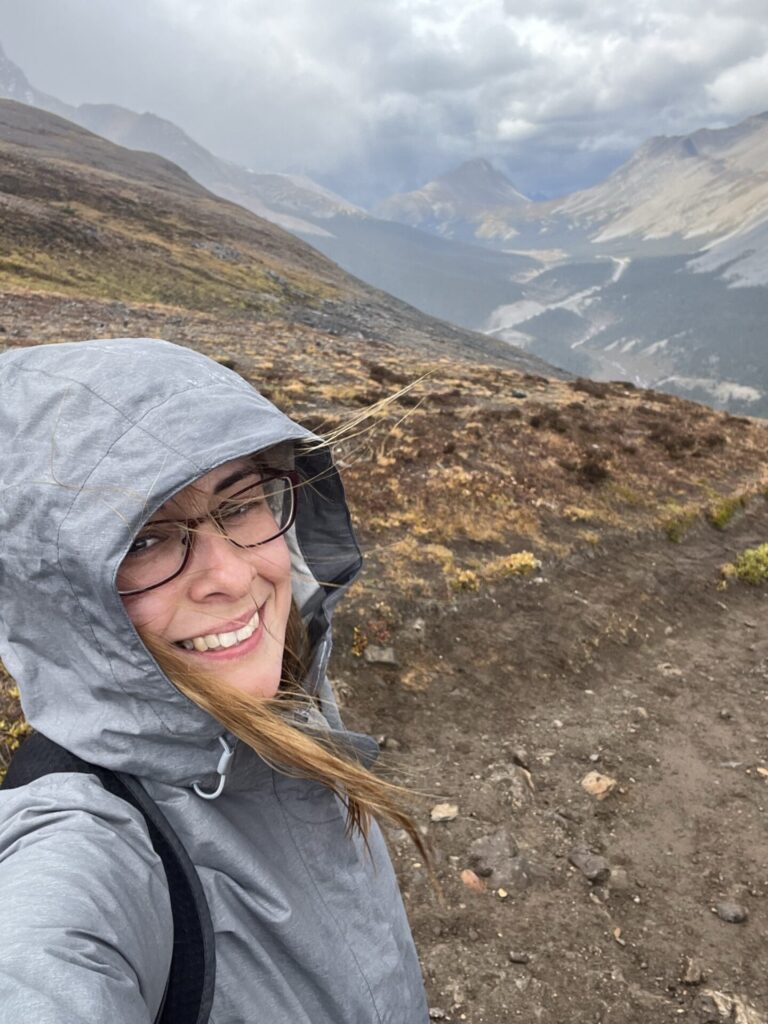
I always wear thin layers when hiking. This means I can easily add or remove clothing items depending on how warm or cold I am. Start with your base layer and layer with thin (but warm) fleeces. In the winter or wind, consider taking a packable down coat and waterproof and windproof jacket. If you’re going up in significant elevation, you might find it colder as you go higher.
It might sound more straightforward just to wear a thick fleece and thick coat, but it’ll be difficult to adjust to the ever-changing temperatures.
Don’t forget to pack a hat, neck gaiter and gloves if it’s going to be cold (or a sun cap if it’s going to be sunny).
Check out some of the best hiking leggings for women.
Choose the right footwear
It’s essential to wear the right footwear when hiking. First and foremost, you want to wear shoes you’ve broken in and are comfortable in. The worst thing you can do is buy a brand-new pair of hiking boots and go on a full-day hike without breaking them in. Make sure they are comfortable on short day hikes before attempting anything difficult. Even the avid hiker should break in a new pair of shoes.
You also want to ensure the shoes are suitable for the terrain. If you’re going to be walking on loose ground or scrambling up rocks, you need hiking shoes or boots with good ankle support and grip. I saw someone attempting Mount Fitz Roy in Converse, and they were not having a good time.
I’d suggest visiting your local outdoor shop for more advice on the best shoes for you.
Pack safety items for solo hiking
Carrying the correct safety equipment is important for any hike, but it’s especially important for solo hikers. Here are a few items to consider:
- A first aid kit: This doesn’t have to be extensive, but it should contain some basics, like plasters/bandaids and dressings.
- Head torch: This might seem excessive, but if you’re doing a longer hike, it may be useful. There have been times I thought I’d be back by a certain time but haven’t, and as the sun starts to set, you’re going to need light.
- Safety whistle or alarm: This is one for everyone to consider, especially female solo hikers. You can buy safety alarms from most outdoor shops or Amazon. Alternatively, some head torches or backpacks come with whistles attached to them. This could help you if you are in an emergency situation or come across a wild animal such as a bear.
- Electrolytes: These are my saviour on long hikes as they help to keep you hydrated. Even on cooler days, they can be a lifesaver (literally) when your body struggles.
- Emergency blanket: If you’re going on a very long hike or through treacherous terrain, I’d consider carrying an emergency blanket. They’re small and compact, so they won’t take up much space. They’ll help keep you warm if anything goes wrong.
- Battery pack: For those heading on a long hike, consider packing a portable battery charger for your phone. If your phone dies, it might be easy to get lost. Although they’re heavy, they’re a sensible idea for longer hikes.
- Satellite phone: This is an extreme one and something I’ve never done, but if you’re going on a multi-day trek deep into the mountains, it could be something to consider.
Take plenty of water and food
Always set off on the hike with enough food and water. As a general rule of thumb, carry more than you think you’ll need.
When you exert your body, you need more food and water to sustain energy. Although food and water can be annoying and heavy to carry, they’re essential. You could always check if there’s somewhere to fill up water on the hike, but this is quite rare.
The other option could be to take a LifeStraw. This means you can refill your water from streams or other sources as the filter removes bacteria or parasites. If you plan to do this, ensure accessible water sources such as streams or lakes are available on the hike. I used the LifeStraw in Nepal and had no issues.
In terms of food, consider if you’ll need to have a full meal. Snacks such as sugary sweets, chocolate and nuts are also great.
Tell someone where you’re going
Whenever I go on a solo hike, I always tell someone exactly where I’m going. This could be a family member or a friend. This way, they know where I was last seen if something happens.
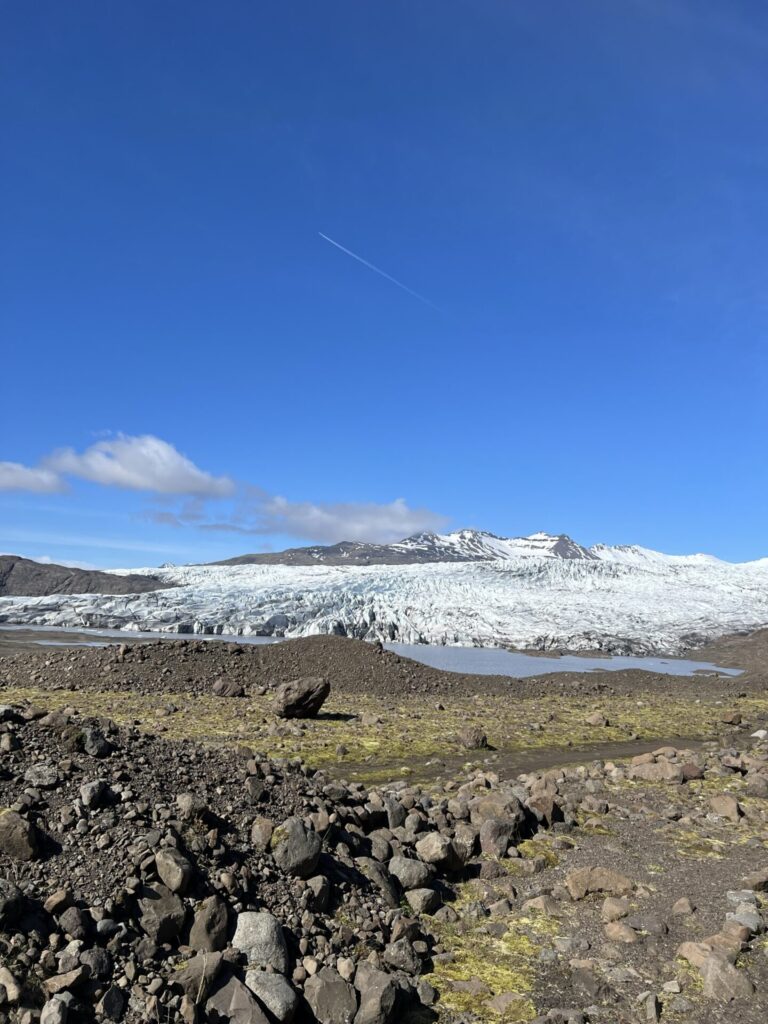
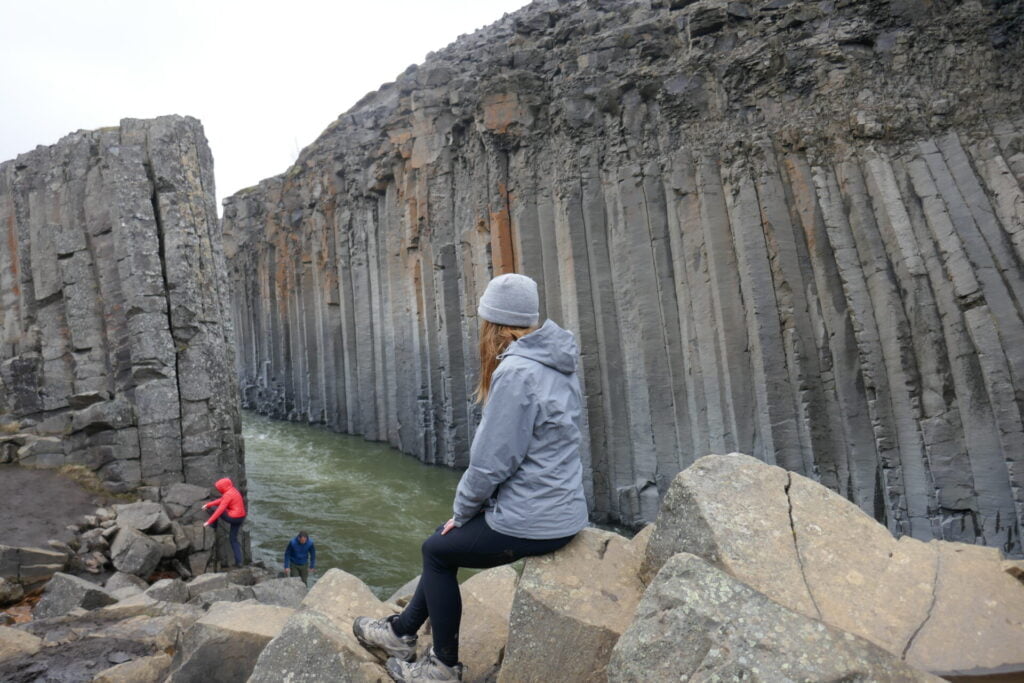
I got a little freaked out on a solo hike in Iceland. I hadn’t seen another person on the trail, and at one point, I was walking through an area very prone to rock falls. I told my friend I was on the hike and started sharing my location so she could see exactly where I was. It might sound over the top, but at least someone knows where you are.
If you’re going into the mountains, you may also not have a phone signal. My mum always worries when I don’t reply instantly, so I normally let her know where I’m going for her benefit too.
Keep an eye on the time
I recommend keeping a close eye on the time, especially when you are short on daylight or starting your hike later in the day. It’s easy to get distracted on hikes, especially those with beautiful photo spots. I can’t count how many times I’ve lost track of time and found myself rushing back while it’s still light.
Hiking in the dark can be a scary and potentially even dangerous experience. If it’s getting late and you still have a long way to go, it might be more sensible to turn around or increase your pace.
Be aware of your surroundings
It’s easy to get lost in thoughts when hiking alone, but try to keep an eye on what’s around you. This includes any dangerous terrain, any wildlife, who else is on the trail with you, and whether the trail ahead is safe.
It’s also a good idea to monitor the weather. If you see a dark cloud ahead, consider whether it’s safe to continue.
I’m not against wearing headphones on a hike, but make sure you can still hear what’s happening around you.
Don’t take any risks
Never take any risks when you’re hiking alone. It’s just not worth it. If something goes wrong, you will have to figure it out yourself.
I attempted to hike up New Zealand’s Isthmus Peak in the winter. Just before the summit, a layer of ice covered the steep trail. Even though I knew it could end badly, I decided to attempt it anyway. I ended up slipping, spraining my wrist, and cutting my hand open. It was a bad decision and could have been much worse.
Always listen to your gut and play it safe.
Try to enjoy yourself
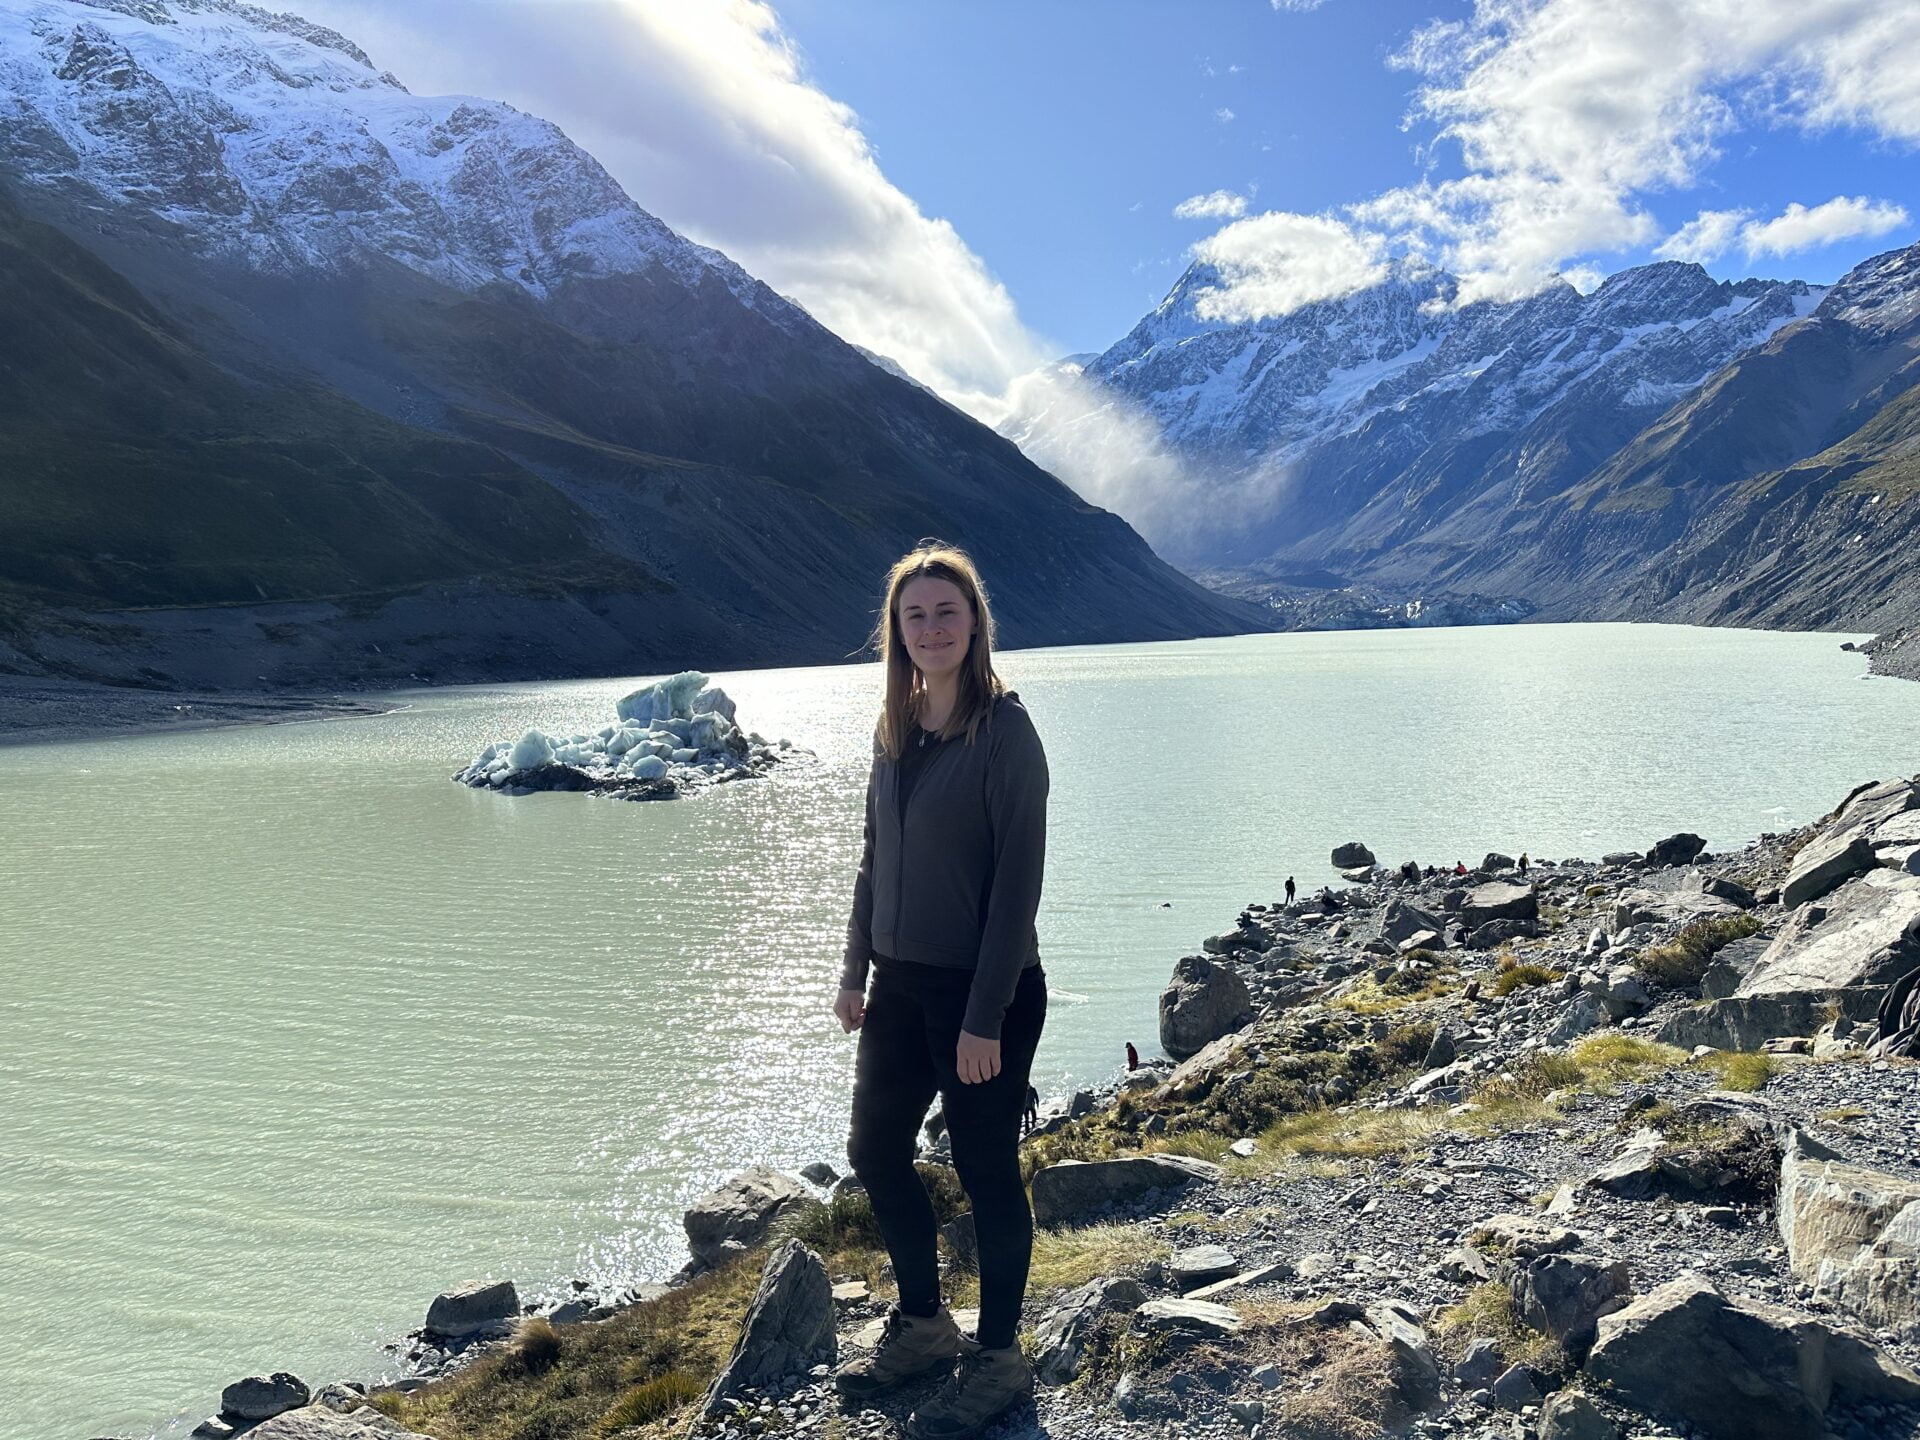
Solo hiking is one of my favourite activities. You’re doing something incredible. While it’s fair enough to be a bit worried, try also to enjoy yourself.
Take in the views, don’t be afraid to ask people to take photos of you (I do this all the time) and enjoy being in nature.
How to build your confidence
If you’re still a bit nervous about hiking solo, here are a few ideas to help build your confidence.
- Start with busier trails: I began my solo hiking adventures on busier trails, meaning I would never truly be alone on the hike. I knew that if something happened, it wouldn’t take long for me to find someone else.
- Find a hiking buddy: If the goal is to hike on more challenging trails solo, consider finding a hiking buddy. You can build confidence with someone by your side, then take on the trails alone.
- Stick to easier and shorter trails: Start with short and easy trails you know you can complete. Your first solo hike doesn’t need to be a 12-hour climb up the side of the mountain. Gradually build up your skills.
- Join a group tour: Group tours are a fantastic way to explore new areas and build confidence. It’s how I began my whole solo travel adventure. G Adventures has some great hiking tours.
Summary: My experience as a solo female hiker
Hiking has become my absolute favourite activity in the world. There is nothing I love more than hiking up to a mountain peak surrounded by incredible scenery. It’s pushed me out of my comfort zone, it’s saved me during difficult times with my mental health, and it’s helped me to achieve things I never thought I was capable of. It might sound dramatic, but if you had told me five years ago that I’d go on a two-week hike in Nepal, I’d have laughed in your face.
Much of my hiking around the world has been solo. As with anything you do alone, there’s always the question of how safe it is (especially as a woman). The truth is, nothing in life is completely safe, and hiking alone does increase risks. However, if you’re well prepared and do your best to avoid any added risks, this should help you to have a trouble-free hike.
I’ve always been surprised at the amount of other solo women I encounter on the trails. In my personal experience, I’ve never encountered any issues or felt unsafe. If you ever feel unsafe, it’s always okay to ask another hiker for help or if you can stay close to them.
I was on a solo hike in Canada, and a girl approached me and said she had seen a bear. She asked if we could walk down the trail together to ensure we were safe. I’ve also been on a hike before where a girl was scared about some terrain. We walked together for a while until we were back on easy ground.
Ultimately, hiking solo is an incredible experience, and you’ll often be on the trails with other people. However, always trust your gut, ensure you’re prepared and never take risks.
I hope the tips above have encouraged you to embark on your first solo hike!
