Hiking Bolivia’s Pico Austria: An Epic Day Hike from La Paz
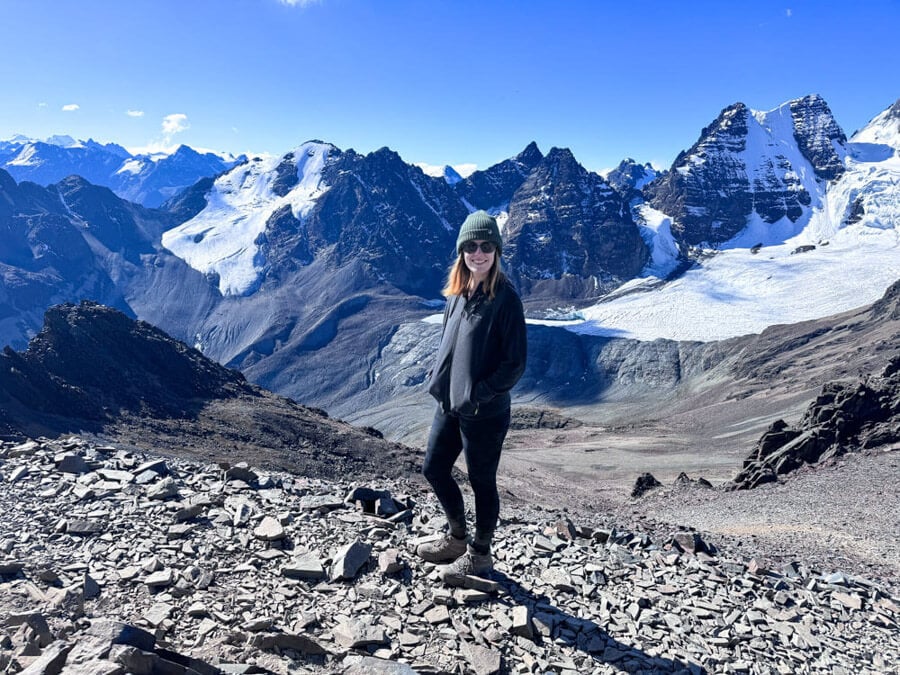
When you think of Bolivia, hiking probably isn’t the first thing that comes to mind. Bolivia is known for the famous Salar de Uyuni, the Amazon jungle and the incredible city of La Paz. However, Bolivia is also home to some epic day hikes, including the wondrous Pico Austria hike.
This full-day hike is one of the greatest day hikes I’ve ever done and one of the best things to do in Bolivia. Located in the breathtaking Cordillera Real, the trek meanders through the Condoriri Range and takes hikers up to Austria Peak (or Pico Austria). Surrounded by spectacular scenery and sitting at 5,320m, this hike will quite literally take your breath away (in more ways than one).
The Pico Austria Hike is a great day trip from La Paz and also a good acclimatisation hike for those looking to take on even bigger peaks, such as Huayna Potosi, which sits at a whopping 6,088m.
If you’re looking for one of the best day hikes from La Paz, I really can’t recommend Pico Austria enough. From the peak, you can see Lake Titicaca, several glaciers, incredible lagoons and endless snow-capped mountain peaks.
In this guide, I’ve shared everything you need to know about hiking Pico Austria.
Pico Austria hike overview and difficulty
Distance: 7 miles / 11 km (although this varies depending on your route)
Elevation gain: around 920m
Maximum altitude: 5,320m
Terrain: Dirt path and loose rocks
Difficulty: Hard
Time: 6-8 hours depending on your speed
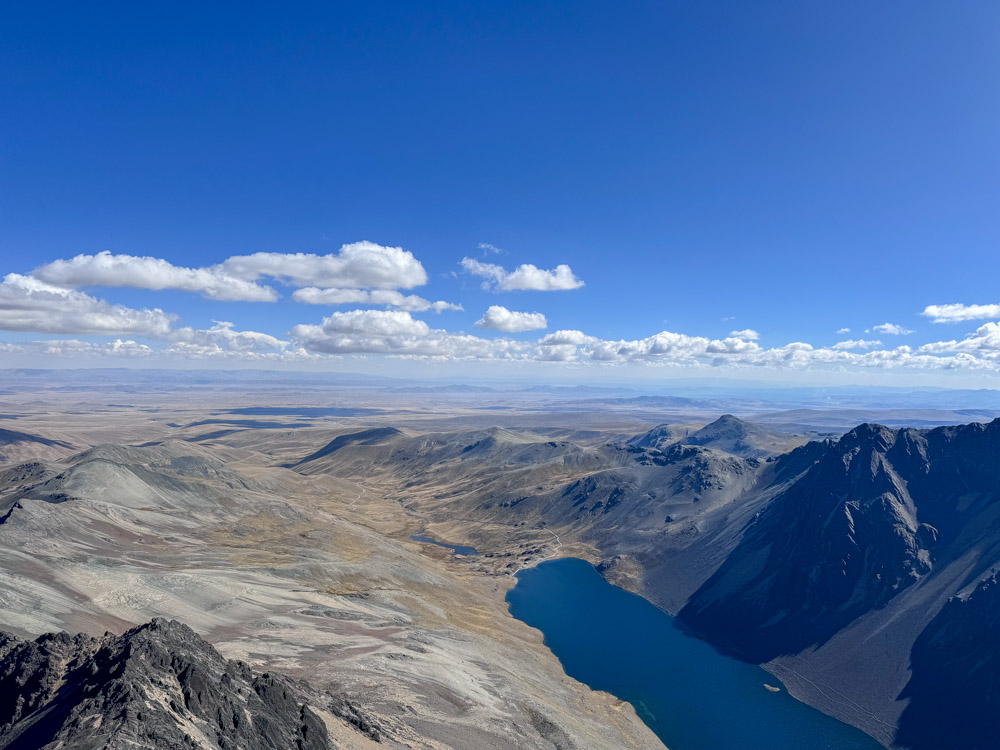
So, how difficult is the Pico Austria hike? The hike itself doesn’t look too bad on paper. It’s a manageable distance for a day hike, and the overall altitude gain is relatively standard for a day hike.
However, the altitude makes this one of the most challenging hikes I’ve ever done! Before taking on this hike, I had spent a significant amount of time at high altitude, visiting the Salt Flats and the Atacama Desert, but I still struggled.
A big portion of this hike is spent above 5,000 metres. This takes a toll on your body, and you’ll no doubt find it more challenging than an average hike. For those unfamiliar with trekking at high altitudes, it feels like you can’t breathe. Every step feels like a challenge, and your heart can feel like it’s racing. On top of the altitude, you also face steep inclines and challenging terrain in some places on the hike.
Honestly, the Pico Austria hike is not for beginners. If you’ve never done a high-altitude hike before, I’m not sure I would recommend this as your first. It’s six to eight hours of trekking at high altitude over difficult terrain.
If possible, you can try a shorter trek to Laguna Esmeralda beforehand. This hike goes up to 5,000m, but it’s only one hour to the lagoon. It’ll be a good test to see how you respond to hiking at high altitude.
How to hike Pico Austria
You can hike Pico Austria independently, but this isn’t a realistic option for most people. The trailhead is over a two-hour drive from La Paz (and longer in traffic). Unless you have a car, joining a day tour will be much easier.
If there’s a big group of you, hiring a taxi driver for the day might be possible. But for most people, joining a tour is the easiest option (and exactly what I did).
I’m not a big fan of group tours when it comes to day hikes. However, Pico Austria is not a walk in the park, so you tend to only get serious hikers in the group. In fact, there was only one other person in my group. This meant it was just the two of us and our guide.
Most tour agencies in La Paz sell this hike, which runs most days of the week. I went with Southtreks and highly recommend them. It’s possible to book online in advance, but this is much more expensive than booking last minute in La Paz. I booked the day before and paid 300 BOB ($43 USD). This included a guide, transport, lunch and snacks, and much-needed trekking poles. Our guide spoke English and was constantly sharing information with us, but I’ve heard that this is not always the case.
You must also pay a 20 BOB entry fee on arrival.
A recap of hiking Pico Austria
To Laguna Ch’iyar Quta
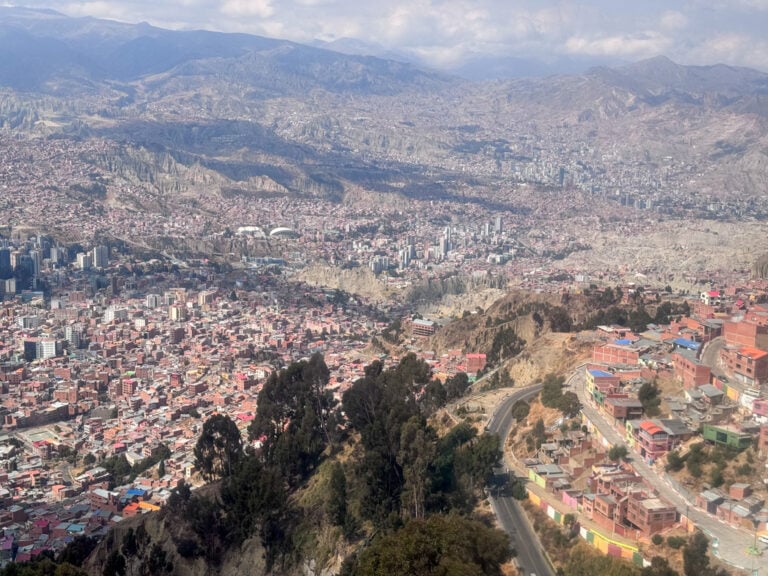
Our day started at 7:30 a.m. in La Paz. We were picked up from the company’s office and began our drive out of the chaotic city. We made a brief stop in El Alto to grab any last-minute snacks and drinks for the trek.
It’s quite a drive to the trailhead, and we drove for almost 2 1/2 hours. A good chunk of this is along a bumpy dirt road, so don’t expect to sleep.
It was almost 11 a.m. before we started our trek. The trek begins at 4,400m above sea level, and you quickly feel the altitude.
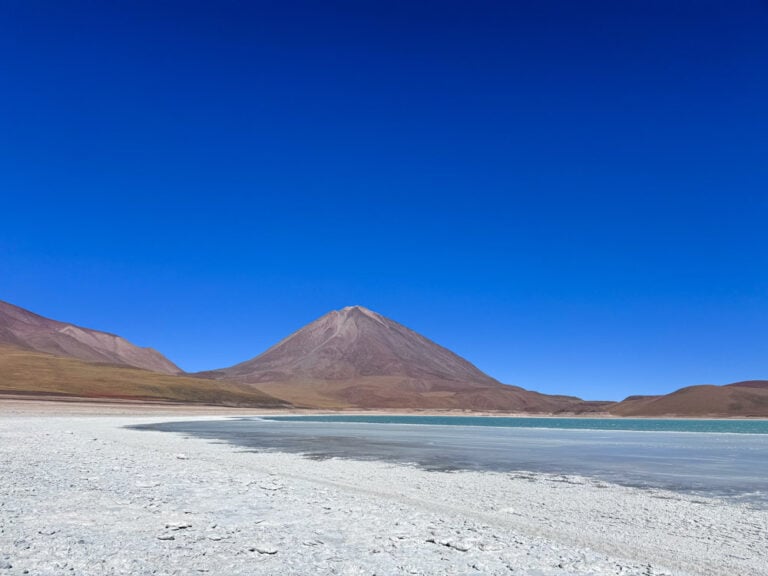
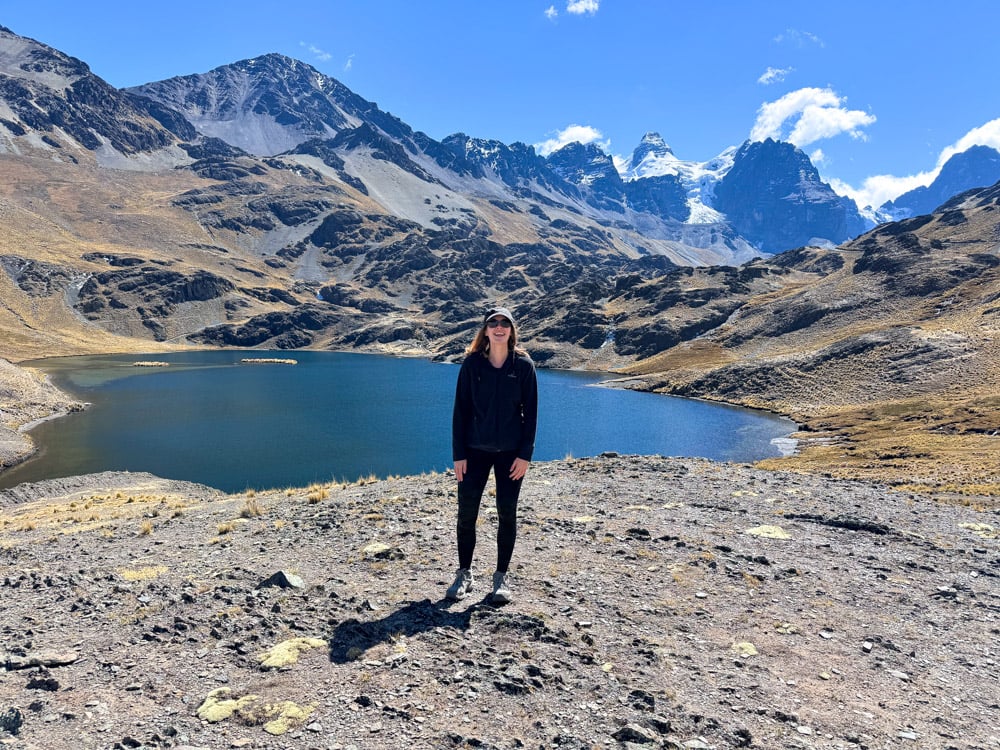
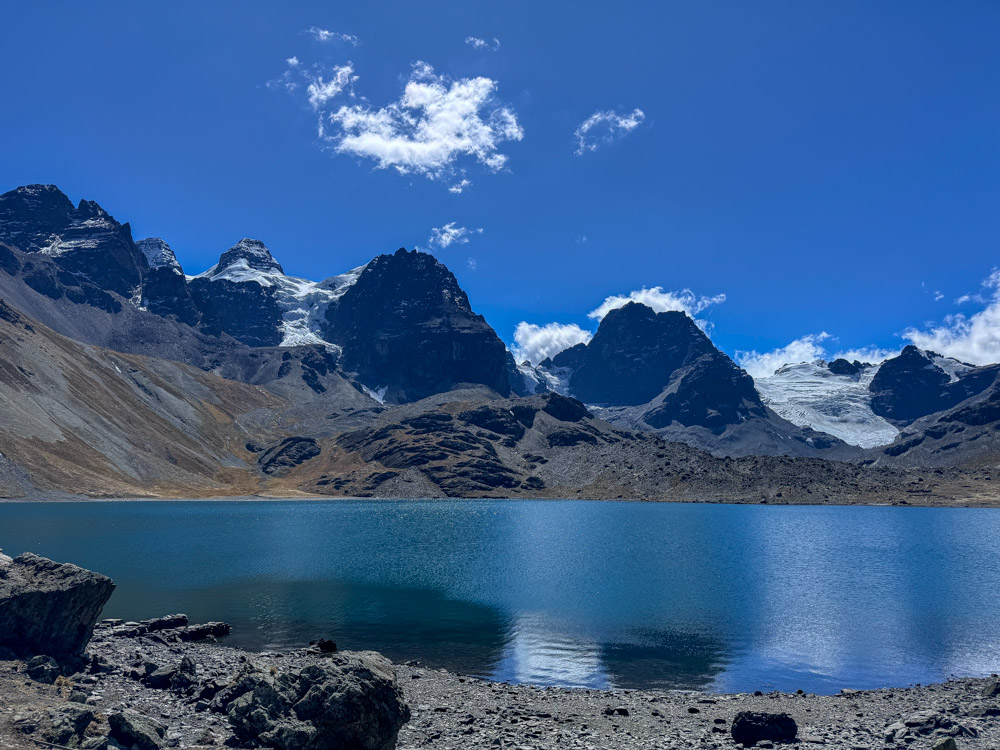
The first part of the hike is the easiest as you meander past lagoons and through a beautiful valley to a stunning lagoon known as Ch’iyar Quta. This is where you’ll find a Refugio or Base Camp for those planning a multi-day trek in the Condoriri area. It took us about 45 minutes to reach here.
The lagoon is a good lunch spot, but there’s still a lot of hiking ahead. With this in mind, we opted for just a snack before continuing.
Reaching 5000m
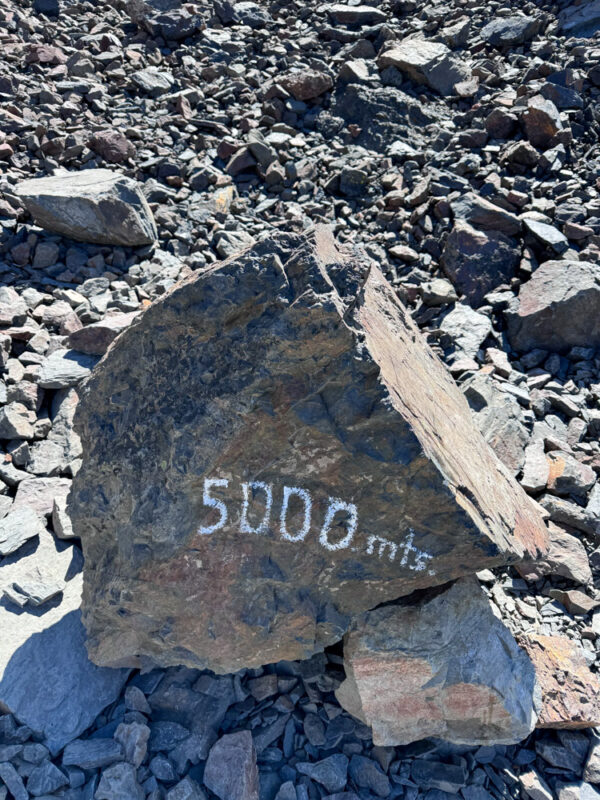
This is where the real work begins. This next section of the hike requires climbing to 5,000m. There are incredibly steep switchbacks taking you up to a rocky section.
Take your time here. This is where I started to feel the effects of the altitude. Thankfully, there are incredible views to keep you going.
We reached the 5,000m point about an hour after leaving the lagoon.
To the summit
The last section of the hike is by far the hardest. The terrain becomes very rocky, which makes trekking a bit harder, never mind the ever-increasing altitude.
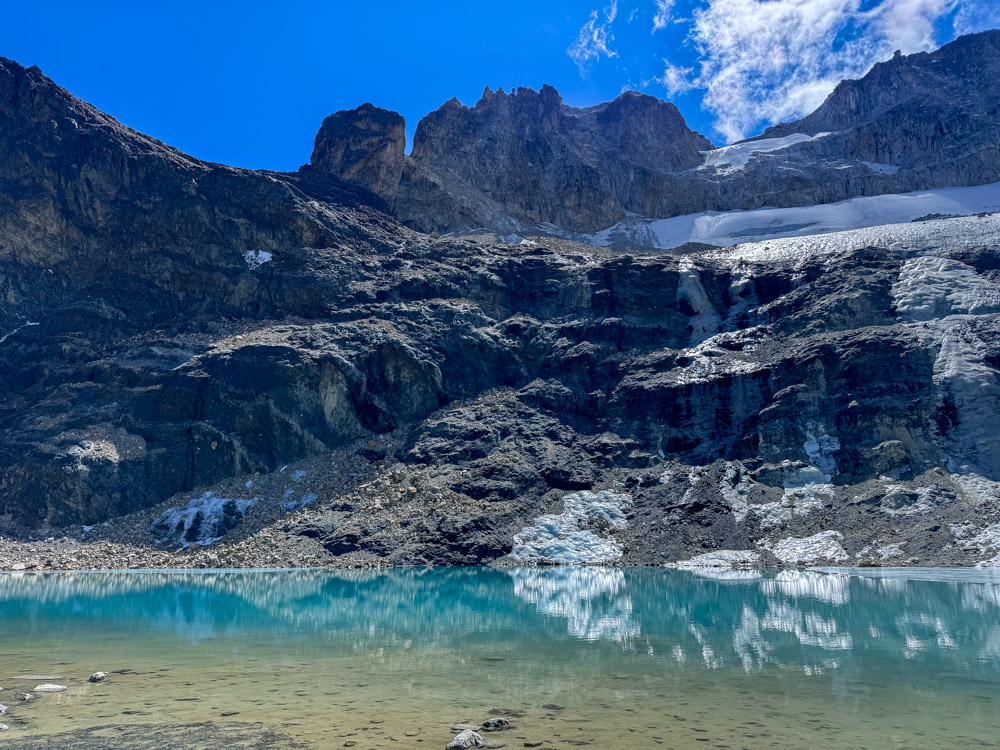
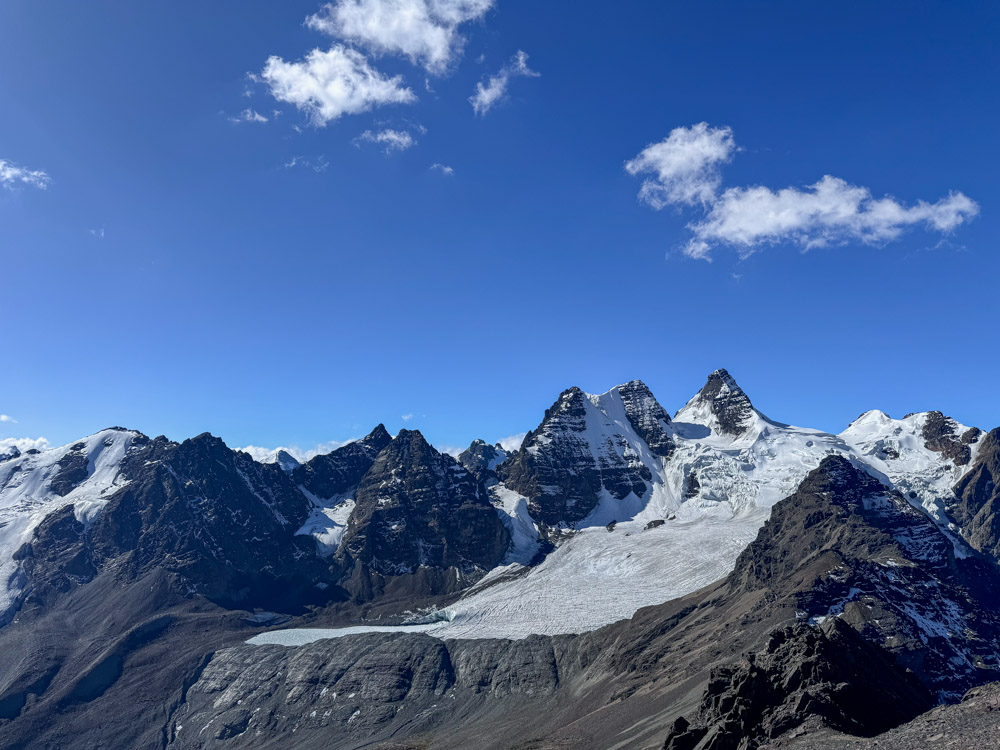
There is a beautiful area with incredible views of Condoriri Mountain and Ventanani Glacier. We rested here before the final push to the summit.

It’s a tough push to the Austria Peak and it feels neverending. Hiking to 5,320m is no joke (it’s a similar altitude to Everest Base Camp). It’s important to go slowly, take plenty of breaks and listen to your body. Annoyingly, my body was not responding well to the altitude on this day, and I felt very sick with stomach cramps.
Despite feeling awful, I pushed through to the summit. Here, you’ll (hopefully) be rewarded with incredible views of the surrounding peaks, including Condoriri and Huayna Potosi. We were also lucky to see Lake Titicaca in the distance.
It was a nice day, so we opted to eat lunch at the top of the summit (not that I could eat anything). In total, it took us just over four hours to reach the summit from the start of the trek, and just under three hours from the lagoon.

The return
My guide decided we needed to quickly descend due to how unwell I felt. I can’t lie, I didn’t enjoy the first hour of the descent. It’s very steep terrain with some slippery places. My legs were shaking, and I felt like I could throw up at any minute. At this point, I was so grateful for the trekking poles included with the hike!
Once we reached 5000m I started to feel better, and the hike became much more manageable. Our guide took us a slightly different route back to see a beautiful lagoon.
It took us just over 2 hours to return to the shuttle. The sun was setting, and we almost had to use our head torches.
My only criticism of the tour is that I wish we had started earlier. Getting out of La Paz was slow, and we didn’t start hiking until almost 11 am. I would have much preferred to have been on the trail earlier. Our guide told us we were a quick group. If we had been any slower, we would have been hiking back in the dark.

Packing list for Pico Austria
Here are a few important items to pack for your Pico Austria hike.
- Warm layers (it can be cold at the top)
- Sun protection including a hat, SPF, sun glasses and a long-sleeved top
- Windbreaker or down jacket
- Waterproof coat
- Warm outer layers including a beanie and gloves
- Good trekking shoes (there are lots of loose rocks)
- Snacks and electrolytes (consider sugary snacks such as chocolate and candy)
- Trekking poles
- At least 2 litres of water, there is nowhere to get any on the hike
- Headtorch for if you finish the hike later
Tips for hiking Pico Austria
Pico Austria is a serious hike and not one for beginners (mainly due to the altitude). Here are a few tips to help you with the Pico Austria day hike.
- Acclimatise first: Before doing this hike, it’s recommended that you spend at least three days in La Paz. This will give your body time to adjust to the high altitude. You could also consider doing an easier hike in the days before; this will also help you get used to the high altitude. I highly recommend the Laguna Esmeralda hike in Charquini.
- Bring trekking poles: I am SO happy that South Treks included hiking poles. I wouldn’t have hired them myself, but they were so helpful. Much of the trek involves crossing loose rock and steep terrain, so hiking poles will undoubtedly be useful (especially for the descent).
- Take your time: Hiking above 5,000m is no joke, and altitude sickness is a genuine possibility. Take your time on the hike, don’t rush, and take plenty of breaks.
- Consider the weather: The best time to hike Pico Austria is between April and October, the winter months. While it’s cold, little rain or snow makes the trek more manageable. The mountains can be unpredictable, though, so pack for all weather.
Multi-day trek option
If one day doesn’t sound challenging enough, you can do a 2, 3 or even 5-day trek through the Cordillera Real, including a trek to Pico Austria.
It seems like each agency offers a slightly different itinerary, depending on who is in the group and what everyone want to see.
I met another traveller who had just completed this three-day trek and only had good things to say.
Sadly, I didn’t have time for this, so I opted for the day trip.
Summary: Is the Pico Austria hike worth it?
Pico Austria is one of my favourite day hikes I’ve ever done (and I’ve done quite a few). With turquoise lagoons, glaciers and incredible mountain peaks, the scenery completely took my breath away.
If you enjoy mountain hikes and don’t mind a challenge, the Pico Austria is a great hike close to La Paz and one memorable day trip!


