A Guide to Backpacking in the Philippines

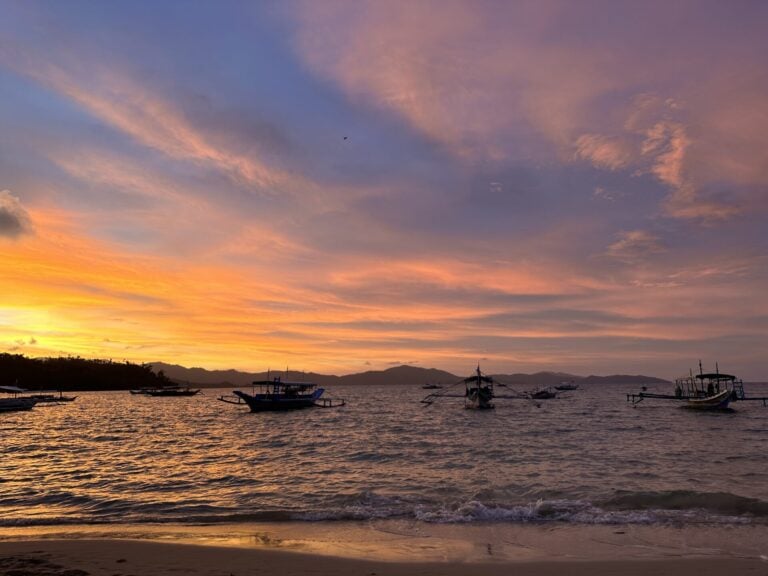
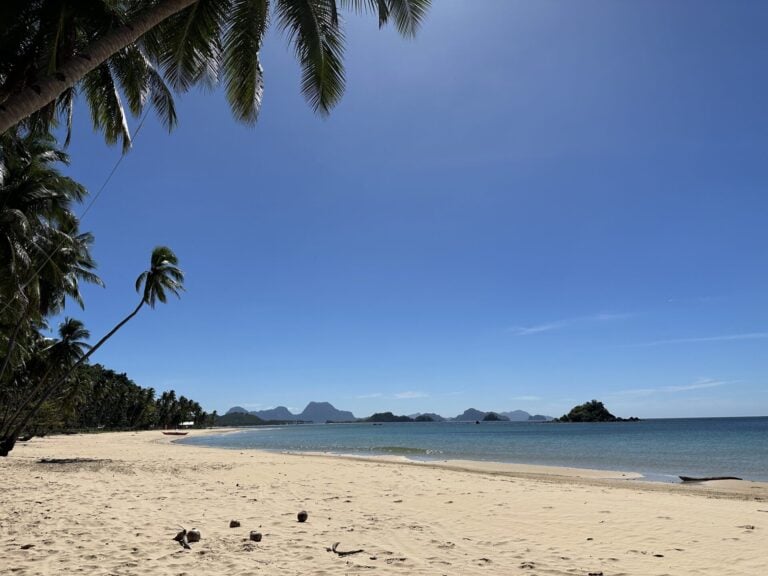
The Philippines had long been a country I wanted to visit, and it certainly didn’t disappoint. Known for its magnificent white sand beaches, stunning landscapes, and thriving reefs, the Philippines is an absolute must for any backpacking trip in Southeast Asia. I’d go as far as to say that this was my favourite country in Southeast Asia.
The Philippines is a lot less travelled than the likes of Thailand and Vietnam, meaning travelling there can be much more of an adventure. It’s a lot less commercialised. There are also still several accessible destinations that offer an authentic, local experience.
As it’s a little less developed, planning your trip to the Philippines can take a bit more planning. In this guide, you’ll find everything you need to know about planning a backpacking trip to the Philippines. From the best time of year to visit, the best places to go, and what to eat, this guide covers all areas of planning.
The Philippines really is a must for any backpacking itinerary in Asia. I’ve also shared some tips for backpacking in the Philippines.

When is the best time of year to visit the Philippines?
The best time of year to visit the Philippines is between December and April, the dry season.
The Philippines has a tropical climate throughout the year, but these months see the least rain and calmest seas. I visited the Philippines in January and February. I had a few rainy/cloudy days, but it didn’t affect my travels.
December to April is the peak tourist season, so you’ll likely be faced with bigger crowds and higher-priced accommodation. Many people prefer to avoid this, but the Philippines is prone to typhoons and dangerous weather, so travelling at other times of the year can seriously disrupt your travel plans. In fact, a lot of tour companies don’t operate from June to October.
If you want to avoid the crowds, you could consider travelling in the shoulder seasons of May and November.
How long to spend backpacking in the Philippines?
The Philippines is made up of over 7,600 islands, so there’s a lot to see and explore. Many of the major destinations are spread out, with some requiring you to fly between destinations or take long, overnight boats.
If you’re planning to backpack in the Philippines, it’s a good idea to spend at least four weeks there. Four weeks will give you enough time to see the prime destinations without rushing between them. Here’s my four-week backpacking itinerary for the Philippines.
It’s possible to spend less time in the Philippines, such as two weeks. However, this will probably only be enough time to see two (or three at a push) of the main islands. If you only have two weeks, decide if you want to stick to the Palawan area or Cebu area.
Most tourist visas will allow you entry for 30 days. With this in mind, my opinion is to make the most of this and use that time to see as much as you can. You can also extend your visa for longer once you’re in the Philippines. This will give you the chance to see even more of the Philippines and explore places further afield, such as the Banaue Rice Terraces or Siargao.
Is the Philippines safe?
The Philippines is often portrayed as not being safe, with a lot of focus on the drug and gun crime. However, this tends to be more prevalent in larger cities and places not on the typical backpacking route. It’s not common for visitors to run into any issues in the Philippines.
My advice is to avoid the big cities such as Cebu and Manila. They have a high rate of crime, and to be honest, there’s not much to see there.
Another factor to consider is the weather. The Philippines often sees destructive typhoons from May to October (and sometimes at other times of year). Avoid travelling during this period.
Is the Philippines safe for solo female travel?
I would feel safe as a solo female traveller in the Philippines. During my month-long trip there, I met plenty of solo female travellers who had no issues. I would happily return as a solo female traveller. The country has a less developed tourist infrastructure than Thailand and Vietnam, but it still attracts plenty of backpackers.

How to get around the Philippines
Getting around the Philippines is an adventure. As mentioned, the Philippines doesn’t have the most developed infrastructure for tourists. Despite this, I didn’t have any issues getting between destinations. My main advice is to just expect delays and some confusion, that way you won’t be caught off-guard.
Here are some of the main ways to get around the Philippines.
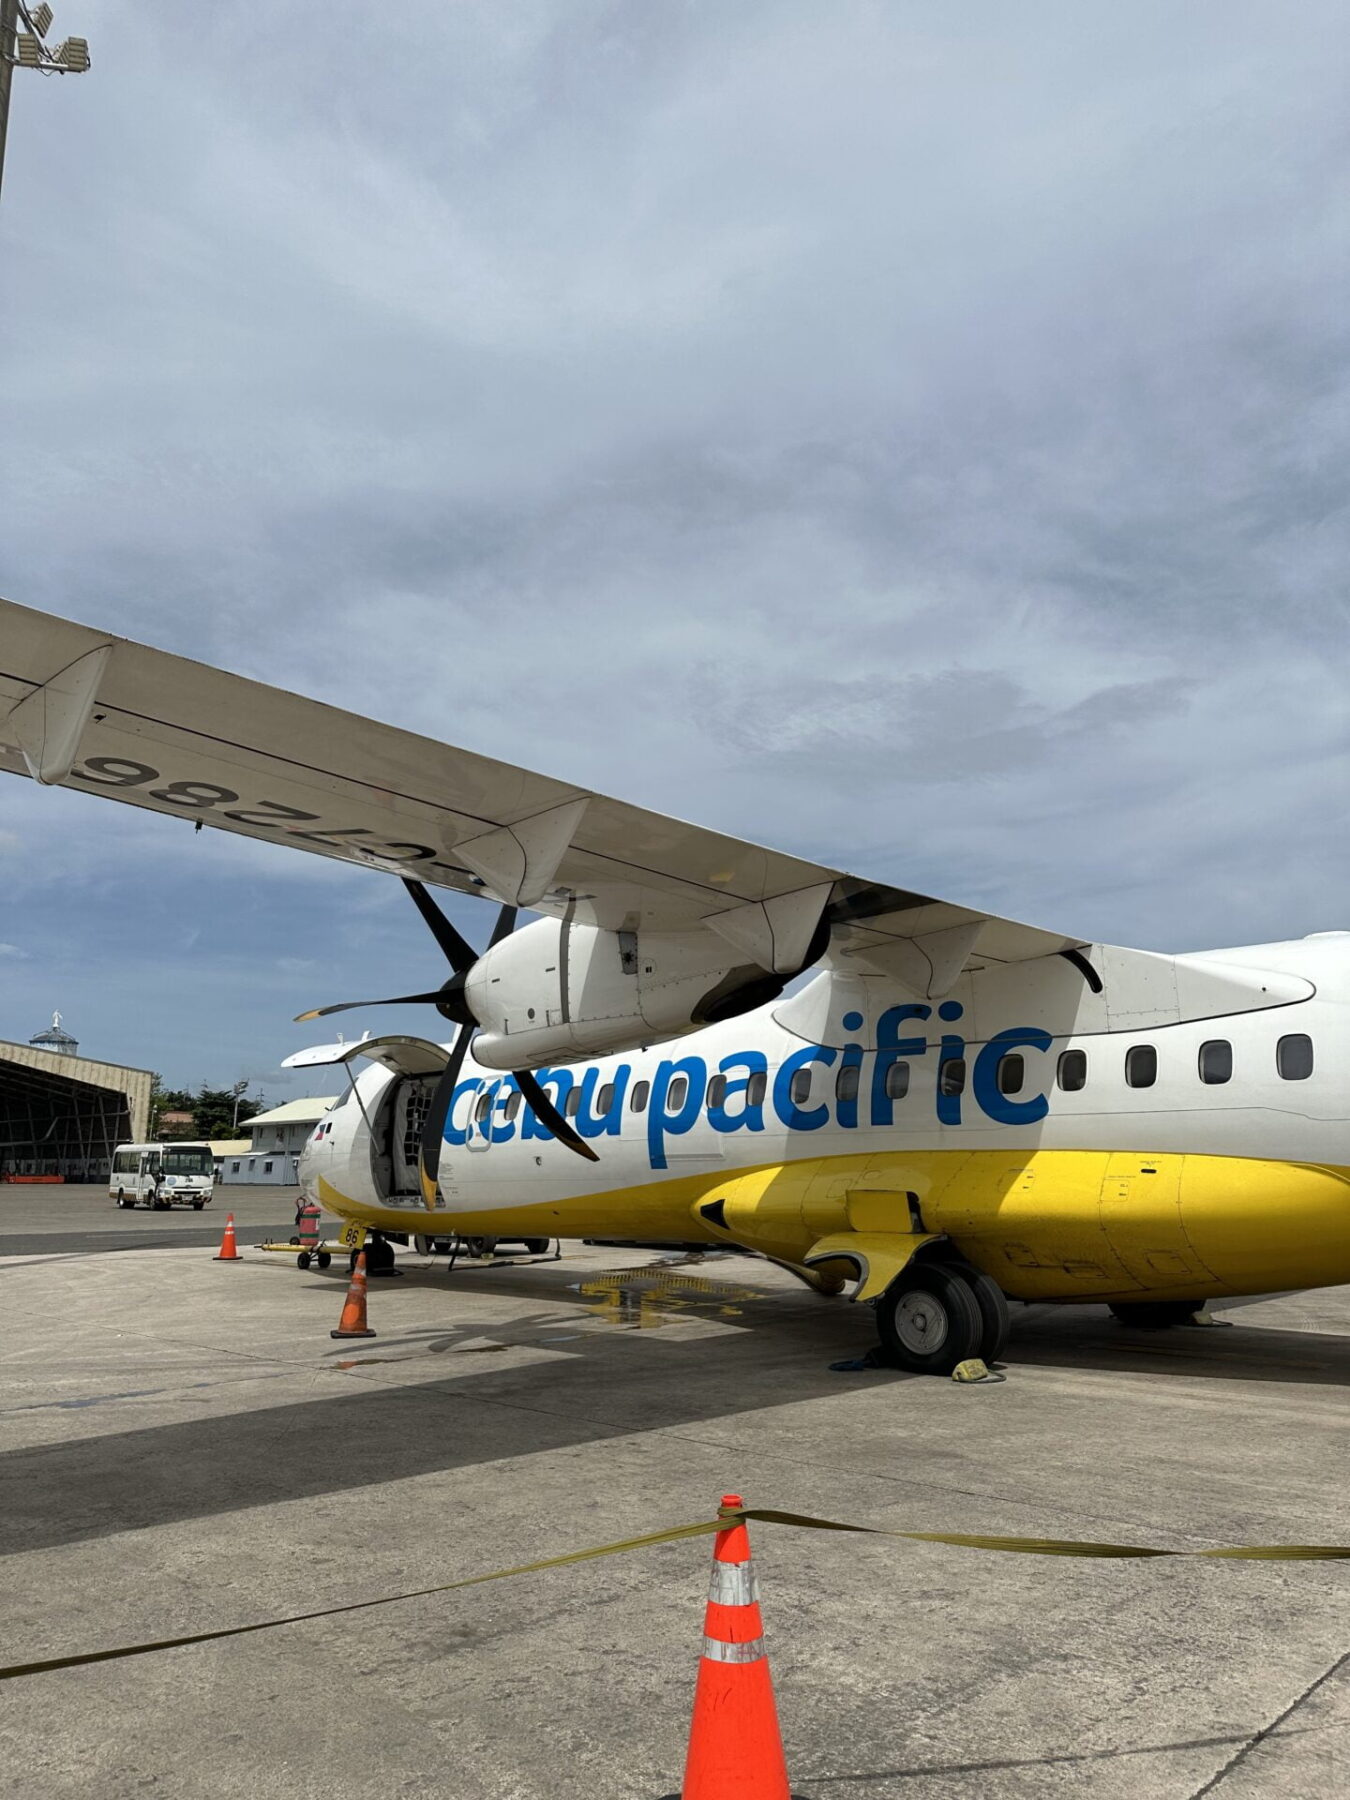
- Flights: Flying is a popular way to get around the Philippines. Many of the main islands, such as Cebu, Siargao, Boracay and Coron, all have airports. You’ll likely find this is the most convenient way to get between these islands. The major catch with flying in the Philippines is that you need to book in advance. Flights often sell out, especially in the peak season, or can be expensive if booked last minute. This is why it’s important to have an idea of your route in the Philippines before heading there.
- Boats/ferries: This is another popular transport method in the Philippines. Once you’re in an area such as Cebu, you can travel between many of the islands by ferry. For example, from Cebu you can reach Bohol, Siquijor and Malapascua by ferry. Once in Coron, you can also reach El Nido by ferry (and vice versa).
- Buses: As the Philippines is made up of thousands of islands, buses aren’t the most common method of transport between destinations. Once you’re on an island, you might find catching a bus useful. For example, to get from Cebu to Moalboal, most people will catch the local bus.
- Tricycles: These are like a tuk-tuk and a great way to get around islands. You’ll find the towns full of them. If you need to make a short journey, these are your best answer.
- Scooter: Many backpackers opt to hire a scooter once on an island. This is especially popular for islands such as Siquijor and Siargao. I was terrified about riding a scooter, but rode one in Siquijor. A scooter gives you great flexibility to explore at your own pace and discover hidden spots. In my experience, the island roads tend to be quiet, so if you’re nervous, it can be a good place to practice. Tip: Make sure your travel insurance covers riding a scooter. If you have an accident and aren’t covered, you could find yourself left with a big bill.
- Shuttles: Many hostels will offer tourist shuttles between destinations in the Palawan/El Nido area. For example, to get between El Nido and Port Barton (one of my favourite spots in the Philippines), a tourist shuttle is your best option.
Philippines backpacking budget
The Philippines has a reputation for being an expensive place to travel (compared to other places in Southeast Asia), but this wasn’t my experience. I found it to be on par with the likes of Thailand.
In 2023, food and drink prices were similar to those in Thailand, if not slightly cheaper. On the quieter islands, such as Siquijor, you can easily buy a delicious local meal for around £2 ($3). Local alcohol is also very cheap.
In terms of budget accommodation, hostels are certainly on the higher end of the Southeast Asia scale, but there are still plenty of budget options available. There are also lots of guest houses in the Philippines that offer competitive and fair prices for what you get. I also found transport costs to be cheaper than those of Thailand in 2023.
For my month in the Philippines (Feb 23), I spent £1200, including my internal flight. This is a little higher than planned, as I also did an island-hopping tour with Big Dream Boat Man. This sent me over-budget but was well worth it. I also opted for flights and occasional transfers, rather than the public bus.
Realistically, I’d recommend budgeting £1000 ($1200 USD) as a starting point for a one-month trip to the Philippines. You can certainly do for less, but this will give you the flexibility to treat yourself at times, allow you to experience everything the Philippines has to offer and opt for nicer transport options.
Best destinations for backpacking in the Philippines
Moalboal (Cebu)
If you’re flying into Cebu City, be sure to check out the beautiful Moalboal.
Most visitors head to Moalboal to witness the famous sardine run. Here, you have the chance to swim with thousands and thousands or sardines (and maybe even turtles or whale sharks). The best thing about this activity is that it’s free (unless you need to hire a snorkel). Head to the beach and swim out about 100m (to where all the people are) and see the magic happen. There’s also a possibility of seeing turtles and even occasionally whale sharks.
Another popular activity in Moalboal is canyoning – I didn’t get round to this as was sick, but it is very highly reviewed.
Note: when in Moalboal, you’ll no doubt come across people trying to sell you tours to swim with whale sharks. Unfortunately, while an incredible experience, this is highly unethical. The local fishermen feed the whale sharks and interact with them.
Bohol
A short boat ride from Cebu is the island of Bohol. Known for the Chocolate Hills and wild tarsier monkeys, Bohol is a popular backpacking destination. If you’ve read my four-week backpacking itinerary post, you’ll know that I was a little underwhelmed by Bohol. I found the island to be very touristy, expensive, and witnessed a lot of cases of animal cruelty. Honestly, I think there are better places to spend your time in the Philippines.
Siquijor
Close to Bohol is the island of Siquijor, which was one of my favourite islands in the Philippines. It’s a quiet spot and a great place to relax and explore at your own pace. There are some beautiful beaches and stunning waterfalls here. I truly loved Siquijor. It really felt like ‘local island life’.
Many locals are wary of Siquijor as it’s associated with witchcraft, and they consider it to be cursed, but this made it even more interesting to visit.
Malapascua
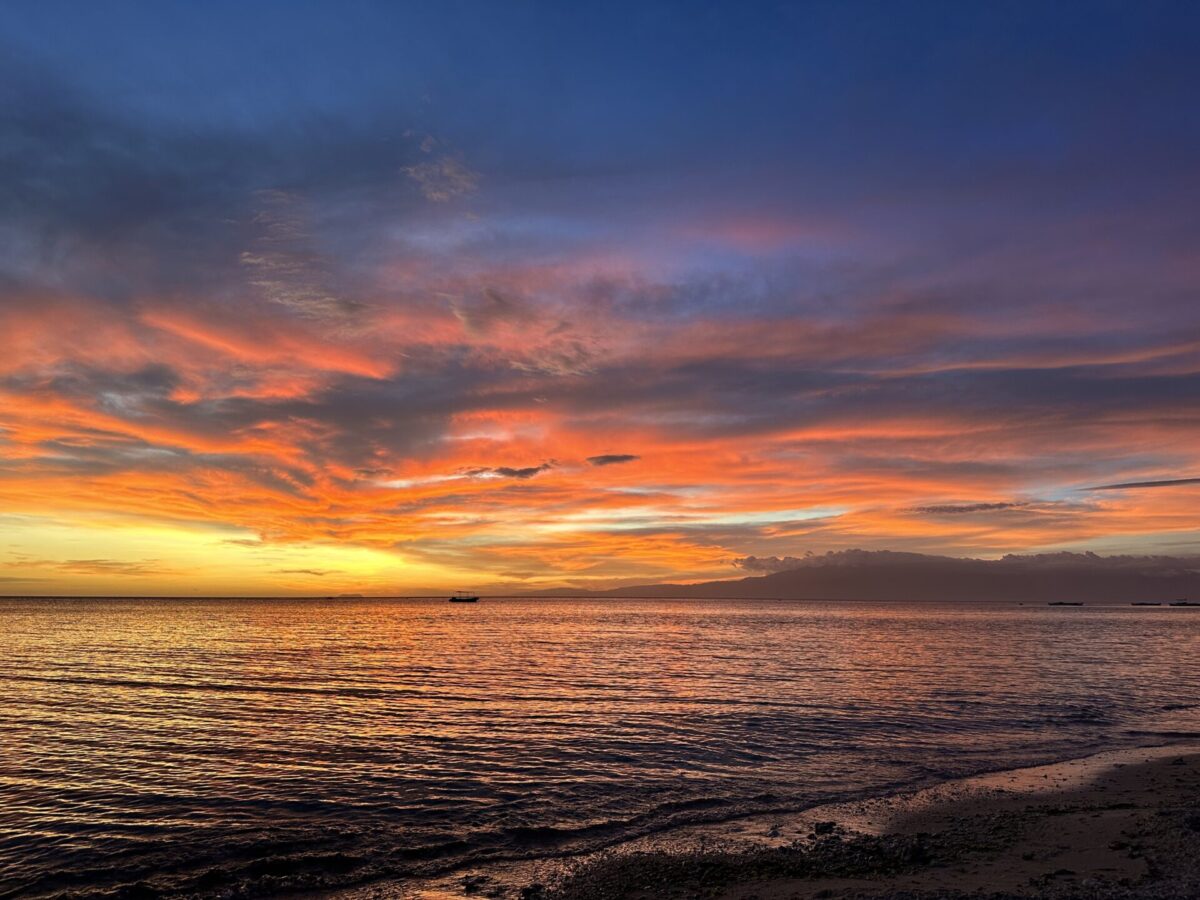
This beautiful spot isn’t on the traditional backpacking route, but it’s a truly beautiful spot and could easily be mistaken for the Maldives. It’s also the place to go to ethically swim with whale sharks (at certain times of the year) and dive with thresher sharks. It’s worth noting there’s not a ton of other activities to do in Malapascua.
Siargao
Unfortunately, I didn’t make it to Siargao, but I’ve heard amazing things. If I ever return to the Philippines, this will be at the top of my list.
Siargao is a small island a short flight away from Cebu. It’s a surfer’s paradise and a great place to relax and explore. The weather patterns tend to be a little different there, and the best time of year to visit is between March and May.
Surigao (Southern Leyte)
This is another off-the-beaten-path destination, but this is another spot where it’s possible to ethically swim with whale sharks. If interested, I’d suggest contacting Padre Burgos Castle Resort for more information.
Palawan (Coron, El Nido, Port Barton)
This is one of the most popular destinations in the Philippines. When you think of paradise, it looks exactly like this region.
Coron
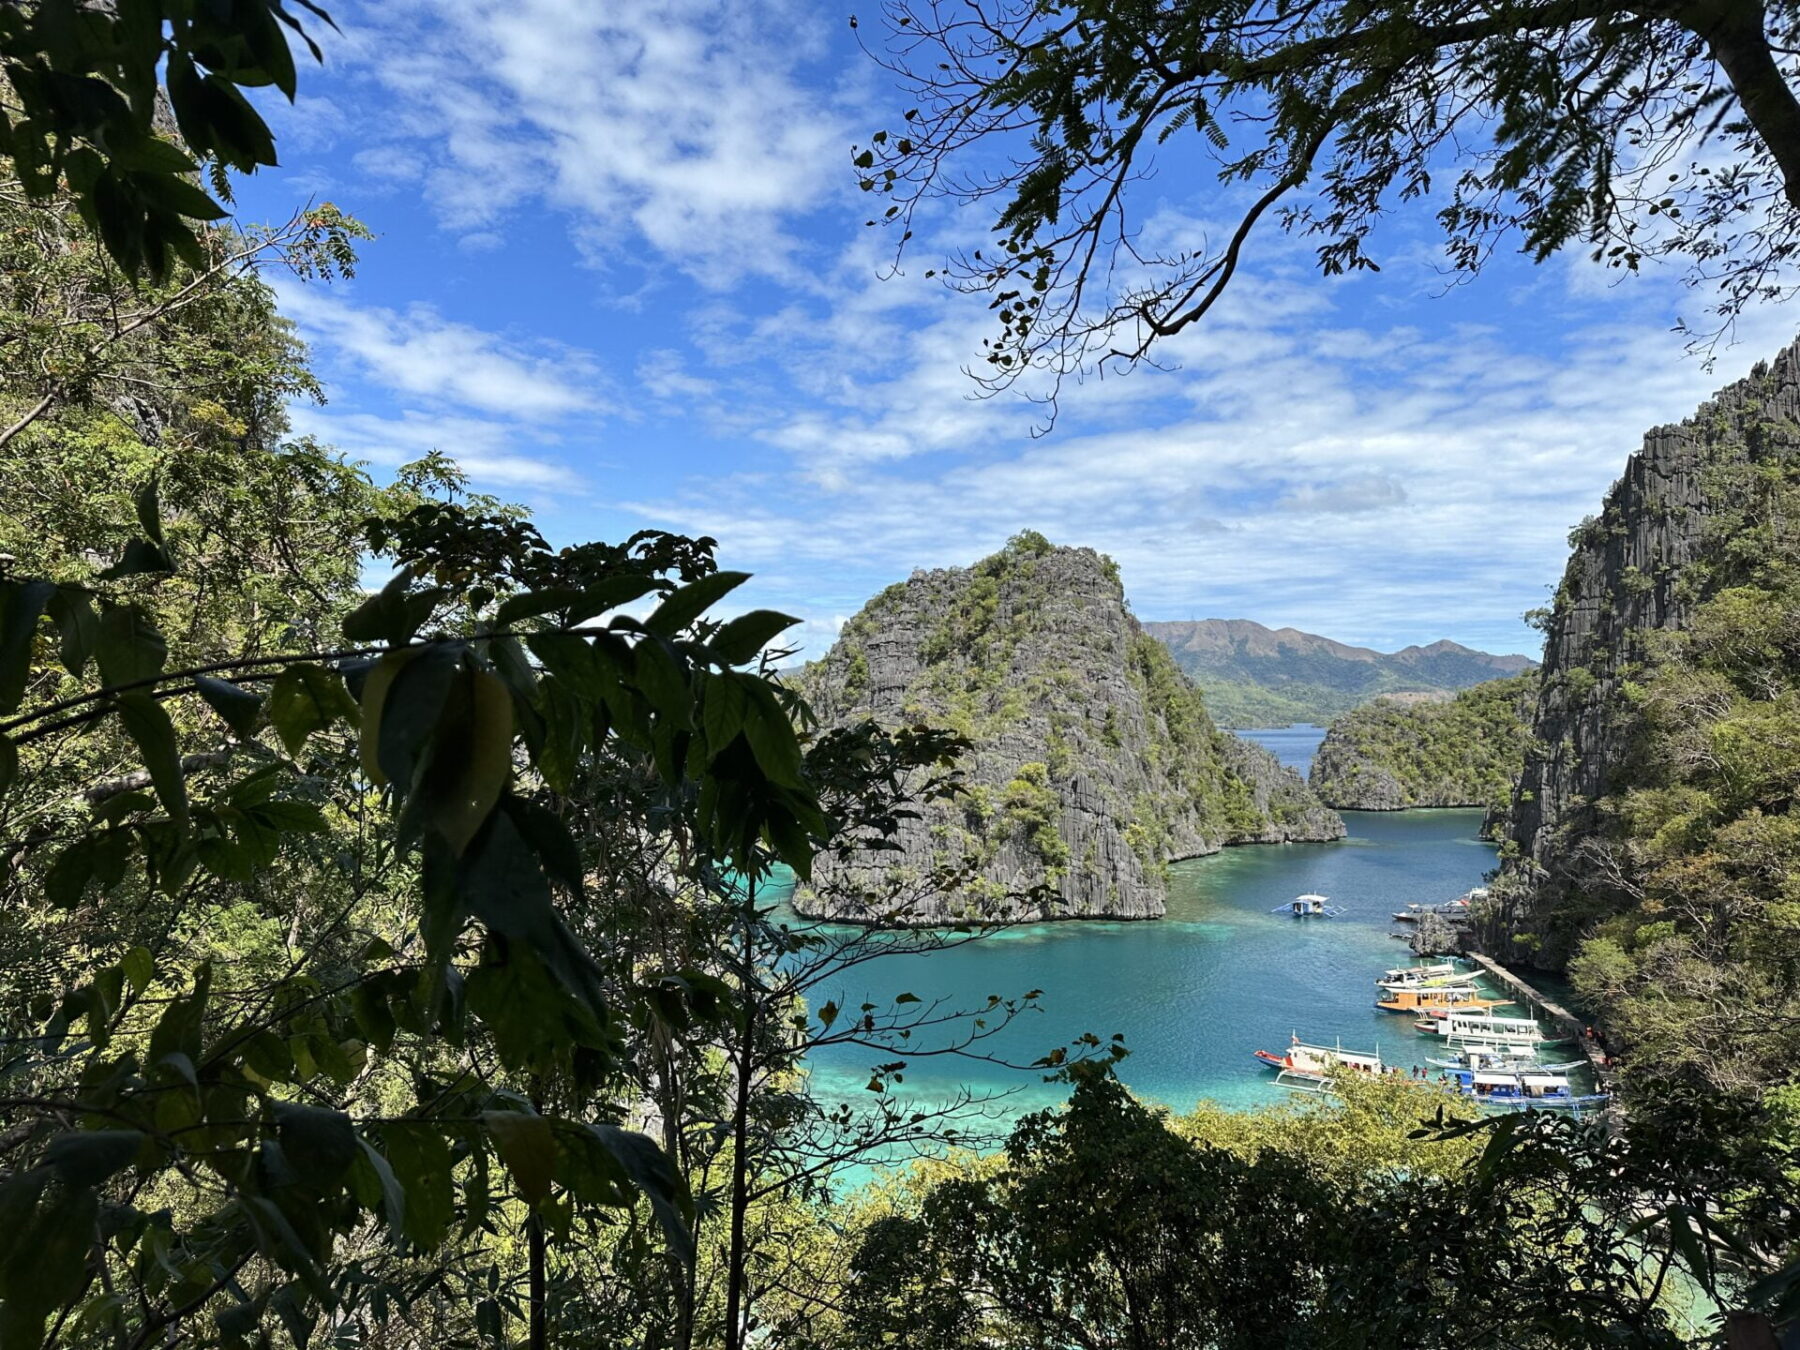
Coron is one of the most beautiful island destinations I have *ever* visited. Think limestone cliffs, crystal clear waters, white sand beaches and colourful reefs. This is literally Coron.
The town itself is nothing to scream about, but you can opt to do several boat trips to see the best of the surrounding area. It’s also a scuba diver’s paradise.
El Nido
Like Coron, El Nido is surrounded by some of the most picturesque island scenery in the world. El Nido is a little more developed than other tourist destinations in the Philippines. There’s plenty of western-style restaurants, hotels and shops. This is also an expensive area of the Philippines, so if you’re backpacking on a budget, I wouldn’t suggest spending too long here.
You can get a boat between Coron and El Nido, but I’d suggest looking at a multi-day island hopping tour such as Big Dream Boat Man.
Port Barton
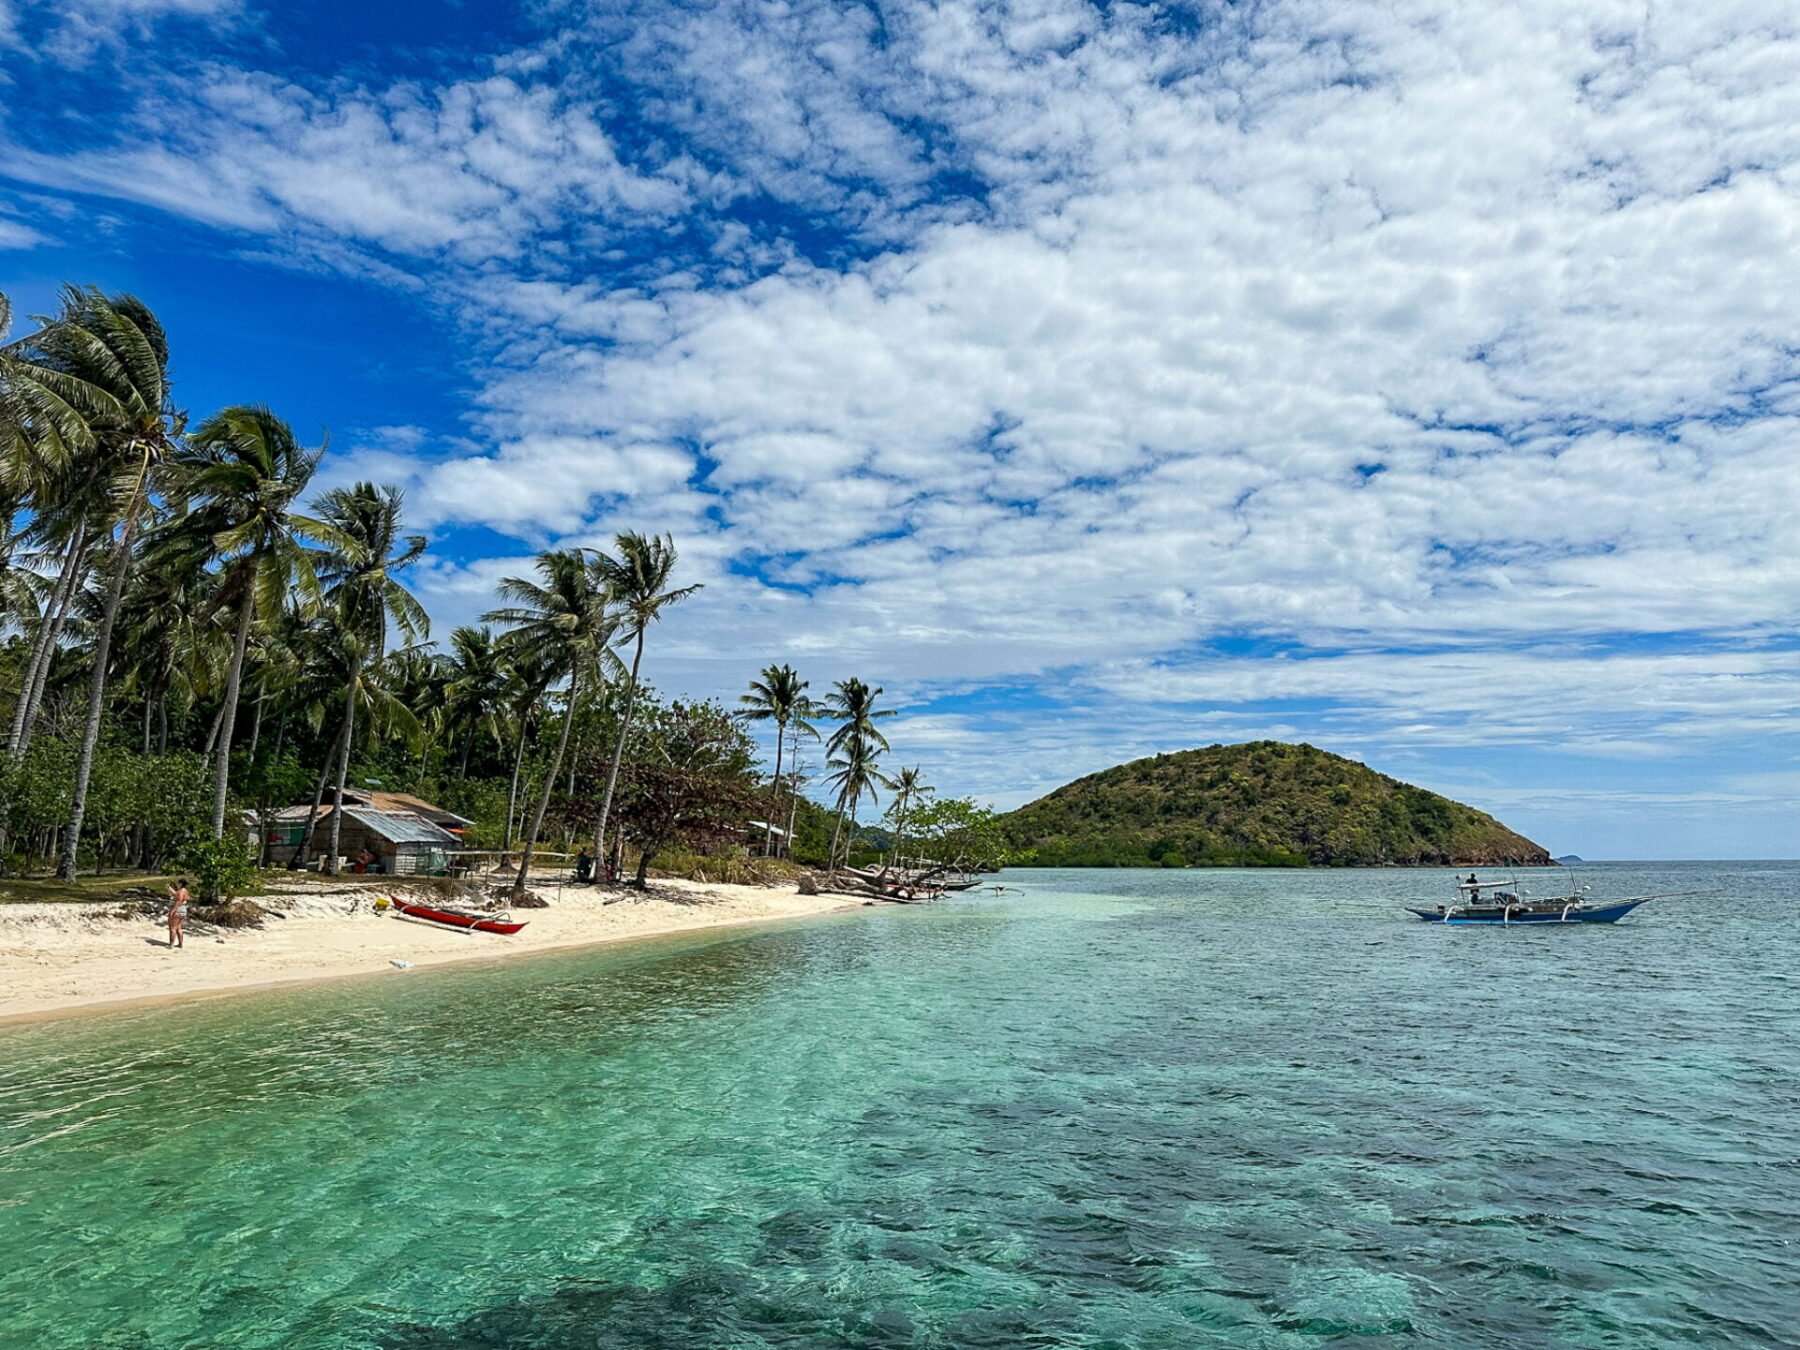
Port Barton was one of my favourite places in the Philippines (aside from Siquijor). It’s the perfect spot to relax for a few days. It doesn’t see as many tourists as the likes of El Nido and Coron, so is less developed, but that’s the magic of it. Here’s my guide to everything you need to know about visiting Port Barton.
Puerto Princesa
Your backpacking trip in Palawan will probably begin or end in Puerto Princesa. This wasn’t my favourite place, and there wasn’t much to see or do. This is where the famous UNESCO Underground River is located, but I heard very mixed things about visiting, so I opted not to. Honestly, use Puerto Princesa as a spot to begin or end your Palawan trip.
Banaue Rice Terraces
If you want to see another side to the Philippines other than the islands, the Banaue Rice Terraces might be the answer. You can do 2- or 3-day trekking trips through the terraces, seeing the beautiful scenery and experiencing life in the local villages. To get to the Banaue Rice Terraces, you’ll need to take an overnight bus from Manila. I will certainly be doing this if I return to the Philippines.
Boracay
This is arguably the most popular destination for visitors in the Philippines. It’s very much a resort island and had to temporarily close due to over-tourism.
If you want luxury resorts, then Boracay is the answer. For backpackers, I’m not sure Boracay is worth visiting. It’s busy, expensive, and you’ll need to fly there. This tends to be the place holidaymakers go to spend two weeks, rather than a place to see the true Philippines.
Manila
Manila is the capital city of the Philippines. You don’t need to spend much time here (if any at all). It’s very busy, has a high crime rate, and there isn’t a ton of things to do.
If you’re building your itinerary, check out my four-week backpacking itinerary for the Philippines.
Useful apps and websites for backpacking the Philippines
Booking
I used booking.com to book all my accommodation in the Philippines. I found it had all the hostels as well as homestays.
12Go Asia
12go Asia is a helpful website to book transport around the Philippines. Many of the ferry companies allow you to book tickets through this website. It will tell you the latest schedule and help you to get around.
Grab
Grab is the Southeast Asia version of Uber. It’s not available all over the country, but in big cities like Manila and Cebu, this is the easiest way to order a taxi. Have it downloaded and ready to go ahead of your arrival in the Philippines. That way, you can easily book a taxi once you arrive in the Philippines.
TravelSpend
The TravelSpend app is my favourite backpacking budget app. The app allows you to track everything you spend and set a clear budget for the trip. It’s easy to use and comes with lots of useful features.
Sky Scanner
You’ll likely need to book internal flights to get around the Philippines. Sky Scanner is a great app for finding the cheapest flight. You’ll easily be able to compare prices and times.
Food in the Philippines
Most people will tell you food in the Philippines is nothing to scream about. While I’ll admit it might not have been as flavoursome as Thai food, it’s still delicious. While in the Philippines, there are a few must-try dishes.
- Silog: This is a popular savoury breakfast in the Philippines. It’s garlic fried rice with runny eggs. It is often paired with your choice of meat.
- Lumpia: This is a type of spring roll stuffed with vegetables or meat. It’s typically served with noodles and was one of my favourites.
- Chicken Adobo: The chicken is slow-cooked with SO MUCH flavour.
- Sisig: There are several different varieties of this, which involve different meats. Traditionally, pork is used and cooked with lots of spices.
- Mango float: This is a traditional Filipino dessert. It consists of condensed milk layered with crackers and fresh mango. It sounds odd, but it’s delicious and worth trying.
Group Tours in the Philippines
If you’re planning to visit the Philippines solo but are a bit nervous, consider joining a group tour. I often speak about the benefits of group tours, but ultimately, they’re a great way to travel a country when you don’t want to be alone.
Here are a few group tours I’d suggest for the Philippines.
Intro Travel
Intro offers small group tours all around the world, and the Philippines is one of their best tours. The tour takes you to many of the highlights and is budget-friendly (disclaimer: I did work for Intro Travel for a short period of time). The usual demographic for Intro Travel is 18–39-year-olds.
One Life Adventures
One Life is similar to Intro Travel, but offers 10-day and 14-day tours in the Philippines. Their award-winning tour takes you to many of the islands and includes a stay on your very own private island. This tour also tends to be a younger demographic.
TruTravels
TruTravels are another popular option for backpackers aged between 18-39. They’re owned by one of the largest tour operators (G Adventures), so they know how to put on a good trip. They offer the most diverse range of tours I’ve seen in the Philippines, with various routes and styles available.

Philippines Packing Essentials
The Philippines has a similar climate to that of other backpacking destinations in Southeast Asia, so you won’t need to buy a whole new wardrobe to visit.
I’ve shared a few items I would recommend packing or buying ahead of your trip to the Philippines:
- Waterproof bag cover – it can rain heavily in the Philippines, even during the dry season. With this in mind, it’s essential to pack a rain cover for your backpack. The cover is also useful when travelling by boat. Bags are often kept outside and can get splashed by the sea as well as rained on.
- Water shoes – sea urchins are all over the Philippines, and trust me, you don’t want to step on one. The beaches are often quite rocky too, so consider packing some water shoes, such as Teva’s, to protect your feet.
- Dry bag – I’m not sure you’ll complete your backpacking trip in the Philippines without doing at least one boat trip or island-hopping tour. For this, you’ll need a dry bag to keep your belongings dry. They’re sold all over the Philippines so you can easily buy one.
- Reusable water bottle – most accommodations in the Philippines offer free drinkable water (unlike Thailand or Vietnam). Seriously, everywhere I went had water refill stations, so I never had to buy plastic water bottles. Have a reusable water bottle handy so you can make the most of this.
Cash and Sim Cards
Not many places in the Philippines accept credit or debit card, it’s still very much a ‘cash first’ country. Always carry enough cash. I withdrew cash at an airport ATM when I arrived. There is sometimes a small fee, so be sure to withdraw enough each time to minimise the number of times you need to withdraw cash.
The Wi-Fi in the Philippines isn’t the best, so you may find it helpful to have a local SIM card, especially for long travel days. You can pick up a SIM card at the airport when you arrive. Buying a Sim Card at the airport can be more expensive than a local shop, but the staff will sort everything for you and it means you don’t need to worry.
I used an eSIM through Airalo while in the Philippines. This meant I didn’t have to worry about changing my physical SIM.

