A Guide to Hiking New Zealand’s Tongariro Alpline Crossing (UPDATED 2023)
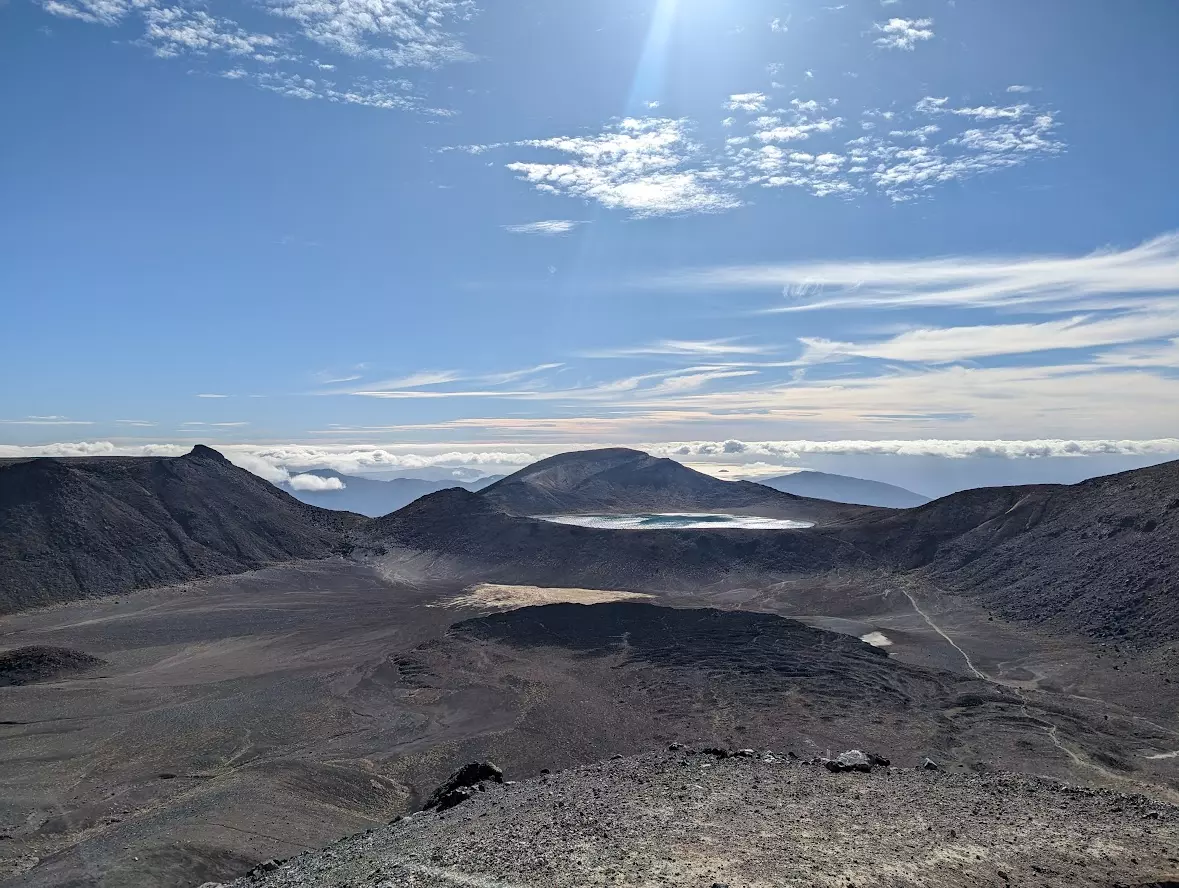
The Tongariro Alpine Crossing is known as one of the best day hikes in the entire world. I had dreamed of going to New Zealand for so long and hiking this trail was at the top of my list of things to do. And wow, it did not disappoint.
The hike through the volcanic landscapes takes you through some of the most unique scenery I have ever seen. It almost feels otherworldly at times as you trek through varying terrain. There’s certainly no question as to why it’s so famous. It really was a highlight for me out of all of my travels.

With it being so special, unique and relatively accessible, there’s no surprise as to why it’s on the itinerary for many. It’s important to know though that it’s certainly no walk in the park (despite what Instagram might have you believe). People regularly need rescuing from the mountain, more often than not because they have underestimated the hike or are not properly prepared. This is a famous hike and appears in many “must-do” lists, but it’s an alpine environment and can be unpredictable. You’re also walking the equivalent of a half-marathon (with plenty of uphill) so it’s fair to say this is not a simple day out. It takes planning and preparation to get the most from it.
I’ve written the below guide answering some of the questions I had before taking on this hike. The more prepared you are, the more you’ll enjoy this spectacular activity. While you’re in the area, be sure to check out 9 of the best Lord of the Rings locations in Tongariro.
Where is the Tongariro Alpine Crossing?
The Tongariro Alpine Crossing is in Tongariro National Park. It’s located in the centre of the North Island, about a 4/5 hour drive from Auckland.
You can easily drive into the park and find accommodation before/after your hike. Taupō is also a popular spot to stay.
If you’re in a campervan (like we were), Kiwi Camp have a great facility in the vicinity of National Park. It’s a 25-minute drive from the main car park for your hike. The spot is free but you will need to pay to use the facilities such as showers, water and laundry. The toilets are free. There is a dump station on-site too. Just make sure to pick up at Kiwi Cash tag beforehand as this is how you pay to use everything.
How long is the Tongariro Alpine Crossing?
This long hike is a total of 12 miles (19.4km). It’s a point-to-point hike, meaning the starting spot is different to the end spot. You’ll climb a total of 800 meters (2600 feet). The highest point of the trek is Red Crater which sits at 1886m (6188ft) in elevation.
On average it takes between 6-8 hours to complete, but this is dependent on fitness levels and weather.
When is the best time of year to hike the crossing?
You can technically hike the crossing all year round, but it’s best in the summer months. The summer hiking season begins in November and runs through to May. If you opt to go in the winter months, you’ll need to hire a guide to take you across with the correct equipment as the route can get very icy and dangerous.
The summer months of December, January and February tend to be the busiest. We went in April and it wasn’t too cold yet (still bring in layers).

Do you need a guide for hiking the Tongariro Crossing?
No – if you’re hiking in the summer months you won’t need a guide. If you’re not a confident hiker or want more information about the route and its history, a few of the local tour companies have the option of a guide. It’s a very busy route however so I don’t think having a guide is necessary.
If you’re hiking between May and October, you’ll need a guide to get across the route. They’ll ensure you have the correct winter equipment such as crampons and ice pics and guide you through the snow-covered landscape.
Adrift Tongariro offers a variety of hiking tours.
Tongariro Crossing Permit (Updated 2023)
In October 2023, the Department of Conservation introduced a permit system to control the number of people on the crossing.
This is still a new system that has yet to properly go live. It’s likely that shuttle operators will book the permits on behalf of their customers.
Find out about the Tongariro Permit System here.
Where is the car park for the Tongariro Crossing?
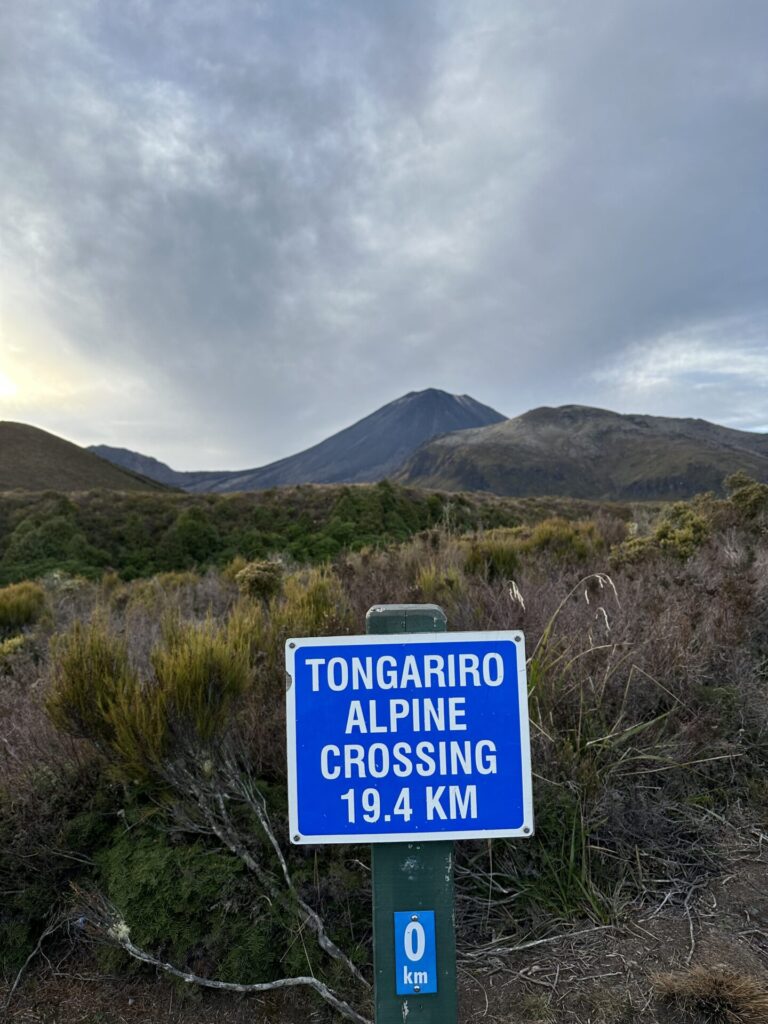
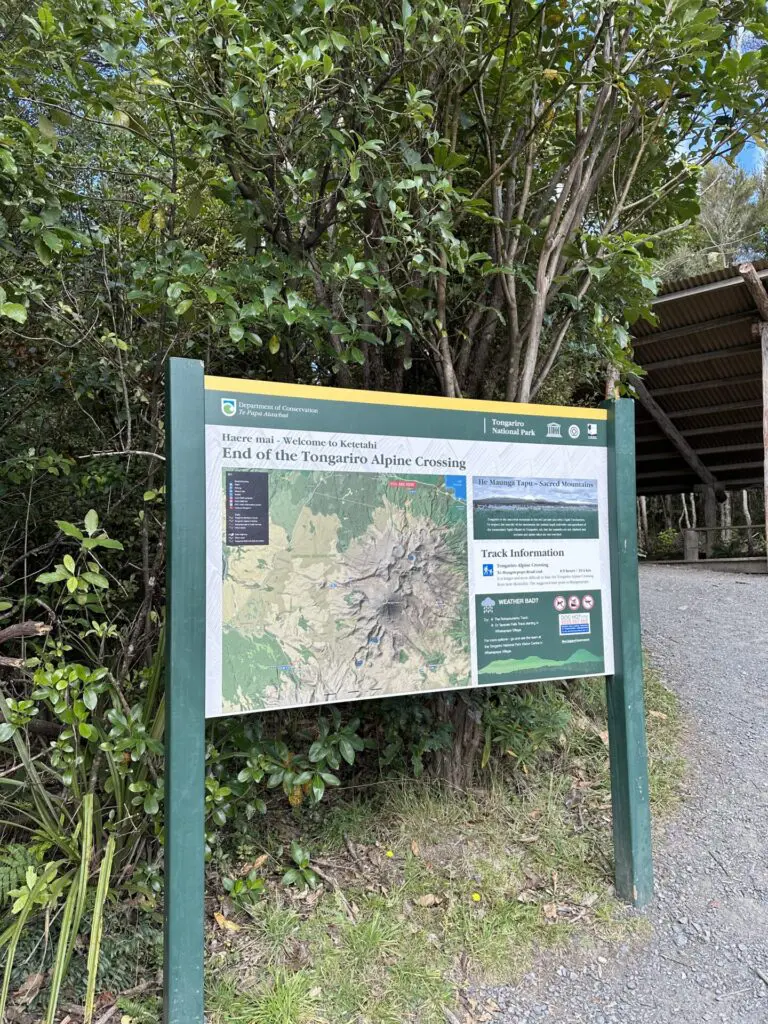
The crossing has two main car parks – the start of the trail is Mangatepopo car park and the end is Ketetahi car park. There are two challenges here:
- You can only park in either of these two car parks for a total of four hours (correct April 23)
- The route is point-to-point, the start point is miles from the ending point
This means it takes some planning to hike the Tongariro Crossing, it’s not as simple as parking and setting off. Here are your options:
- Park in either car park for up to four hours and only do part of the hike. This would limit how far you can go and you’ll need to keep a close eye on the time
- Find someone who can drop you off and pick you up (the easiest option)
- Use one of the local shuttle busses, which is generally what the majority of hikers do
Shuttles for the Tongariro Alpine Crossing
Assuming you want to hike the full route and don’t know anyone who can drop you off at the start and pick you up at the end, you’re going to need to book a shuttle bus. Thankfully, there are several providers here with different options.
Your first option is to book a return trip and be picked up from select accommodations or the park and ride in National Park. The shuttles have specific return times which you normally need to book in advance. If you don’t have your own car and are staying at a nearby hotel, this is your best option.
The other option which we chose (and I personally think is the best one if you’re driving yourself), is to book a one-way ticket from Ketetahi park and ride. This location is a ten-minute walk from the end of the trail. You park your car there in the morning, jump on a shuttle to the start point, and then walk back to your car at the end. It means there’s no waiting around for your shuttle bus or fear of missing the last one. I’d heard stories of people running down the mountain as they thought they were going to miss their bus.
We paid $45 for a one-way shuttle each, and the return ones were around the $50 mark depending on your pick-up spot. This seems standard across the board for all the main providers.
The shuttles start very early in the morning and in the summer months, you can be picked up as early as 5:30 am. In April, our options were either 7 am or 8 am. This may seem early but you have a long day ahead of you and you want to be on that trail as early as possible.
Which shuttle company should you choose?
There are several providers to choose from. I’d have a look at each one and see which offers you what you need.
If you’re opting for the Ketetahi park and ride, it seems that all the companies work together and share shuttles to get people there as quickly as possible.
Here are some of the verified companies:
- Active Outdoor Adventures (this is who we went with)
- National Park Shuttles
- Backyard Tours
- Tongariro Crossing Shuttles (this picks-up from the local hostel – National Park Backpackers)
How difficult is hiking the Tongariro Crossing?
This is a hard question to answer as it really depends on your fitness levels. When I did the hike, I wasn’t in my best shape but found the hike relatively okay, it was nowhere near the hardest hike I’d ever done. However, there are some steep sections with loose ground, especially around the Red Crater. On the route up there is also Devil’s Staircase which taunts hikers with around 370 steep steps.
The route down is also long. In fact, it took us almost the same amount of time to get down as it did up. This can be tough on the knees.
If you’re in relatively good shape then this hike shouldn’t be too challenging but don’t underestimate it. When you reach the end of the uphill, you still have a long way to go so general endurance fitness is important. The key thing is to pace yourself and take your time. It’s a long day and you don’t want to tire yourself out early on.
Weather also plays a huge part in how challenging the hike can be.


How long does hiking the Tongariro Crossing take?
This will of course depend on your pace. We did the hike in just under 6 hours. There were people going faster than us but also people going slower. The Department of Conservation generally advise 6-8 hours, but it could take longer.
Start your hike as early as possible so you have as much time as you need to do the hike. The weather of course plays a part – we had the perfect weather. It was clear but a nice breeze to keep us cool. It would have taken us a lot longer in unfavourable conditions.
What should you pack for the Tongariro Alpine Crossing?
The hike is through an alpine environment and there are lots of exposed parts. The weather can be very unpredictable and change quickly so it’s important to pack anything you might need.
Make sure you have plenty of water – even if it’s a cooler day, the hike is long and you’re going to be working your body a lot. I took 3 litres for the hike. It’s also vital to take layers, probably more than you think you’ll need. When we hiked the crossing, the wind was so strong and despite climbing up steep paths, we were very cold.
Here’s a suggested packing list:
Main:
- Water (at least 2 litres minimum)
- Food (you could be on the hike for 8 or 9 hours, so take plenty of food and snacks)
- Layers
- Waterproof coat and waterproof trousers (hopefully you won’t need them, but they will keep you dry if it does rain)
- Good walking shoes (wear hiking boots with ankle support and good grip)
- Walking poles (this is a personal thing, but if you’re worried about the downhill, these will be useful)
Other essentials:
- Suncream
- Cap or hat
- Sunglasses
- Toilet paper / Tissues (the toilets do not provide this)
- Hand sanitiser
- Waterproof cover for your backpack or a plastic bag to keep things inside dry
- Basic first aid kit (at the bare minimum take blister plasters, especially if your shoes are new)
- Electrolytes
- Bug spray (especially in the summer)
- Map of the trail (the trail is well-marked, but having the route downloaded on your phone is always a good idea. I love AllTrails for this)
Can you hike the crossing alone?
There’s no reason why not. This is a popular route and we were never alone on the path. Make sure you’re as prepared as possible, you’ve told someone where you’re going, you have the route downloaded on your phone and stick to the footpath.
If you’ve not really hiked before, I’d suggest hiring a guide rather than taking it on alone.
A description of the Tongariro Alpine Crossing hike
Your hike will start from the Mangatepopo car park. This is your last chance to use the bathroom for around 90 minutes. From here, the hike can be split into four parts.
Mangatepopo Car Park to Soda Spring
The hike starts off relatively straightforward as you walk through the alpine landscape. The views start straight away as you get up close and personal with Mt Ngauruhoe. Enjoy this part of the hike – it was certainly the easiest. It’s a gradual climb up with a few steeper sections and steps, but there is also lots of flat here.
Once you reach Soda Springs, you can take a mini detour to see them or continue on. There are some toilets just around the corner too.


Soda Springs to South Crater (Devil’s Staircase)
After passing Soda Springs, the hard work begins. I personally found this section the hardest. It wasn’t even as bad as I expected, but the incline here is steep and there are a lot of steps. You climb 200 metres on Devil’s Staircase alone. The staircase has about 370 steps and is a bit of a slog but if you take your time you will be fine.
On the climb up, be sure to admire the fabulous views out into Tongariro National Park. They were breathtaking. Once you reach the top of the staircase, there’s a short climb before the next set of toilets.
The Red Crater to Emerald Lakes
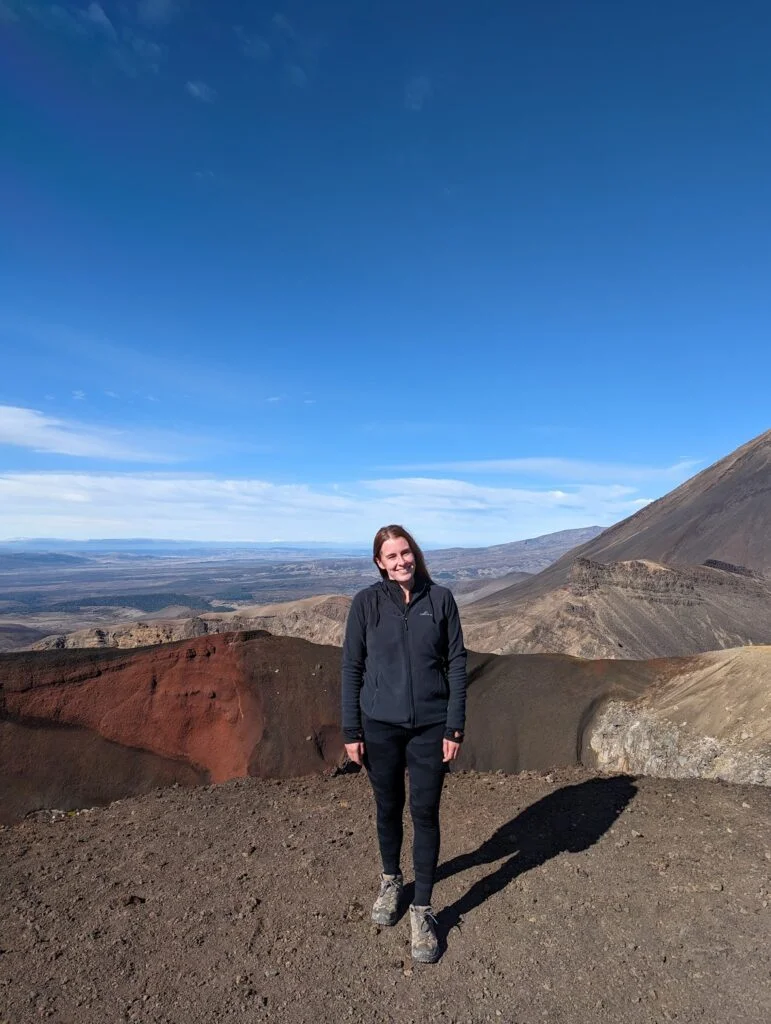
Now for the big one – the Red Crater. This is the highest peak on your trek and the climb up isn’t the easiest. Thankfully, between here and Devil’s Staircase there is a nice flat stretch so enjoy that while you can.
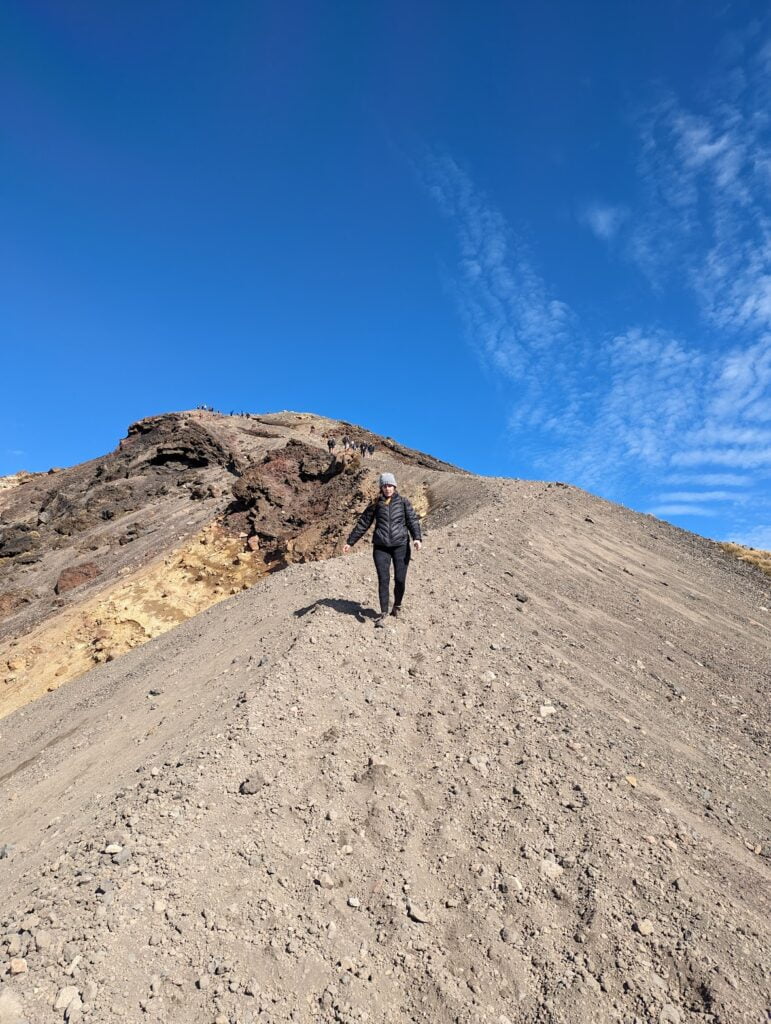
Once you reach the bottom of the Red Crater summit, the real climb begins. This is very steep but what makes it hard is the scree. It’s very loose and can be slippery. I found this challenging but it was short and didn’t take more than 15/20 minutes.
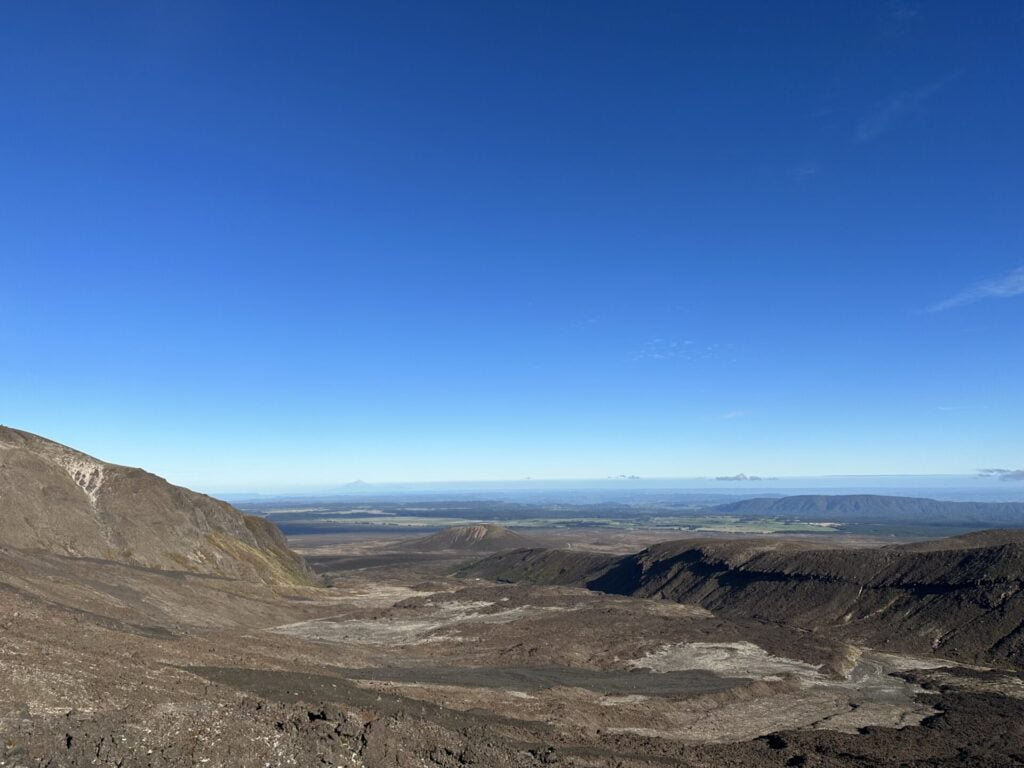
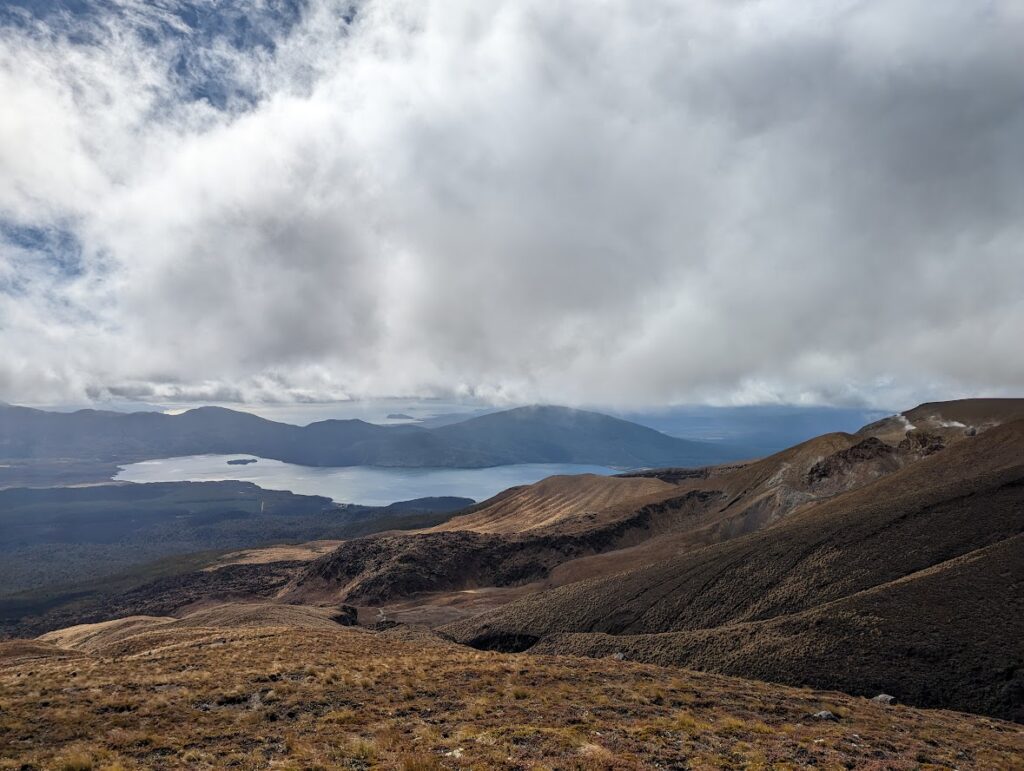
When you reach the top, most of the uphill work is done and you’re rewarded with incredible views of this unique volcanic landscape. This is also where you will get your first glimpses of the Emerald Lakes. It can be very cold up here so I wouldn’t recommend stopping for long.
After taking it all in, it’s time to start the descent to the lakes. Coming down the Red Crater is very slippery so take your time and don’t rush. This is notoriously people’s least favourite part of the hike and the most technical part for inexperienced hikers. Once you’re by the lakes, it’s a great spot to take a break and take it all in.
It took us just under 3 hours in total to reach this point from the start.
The descent begins
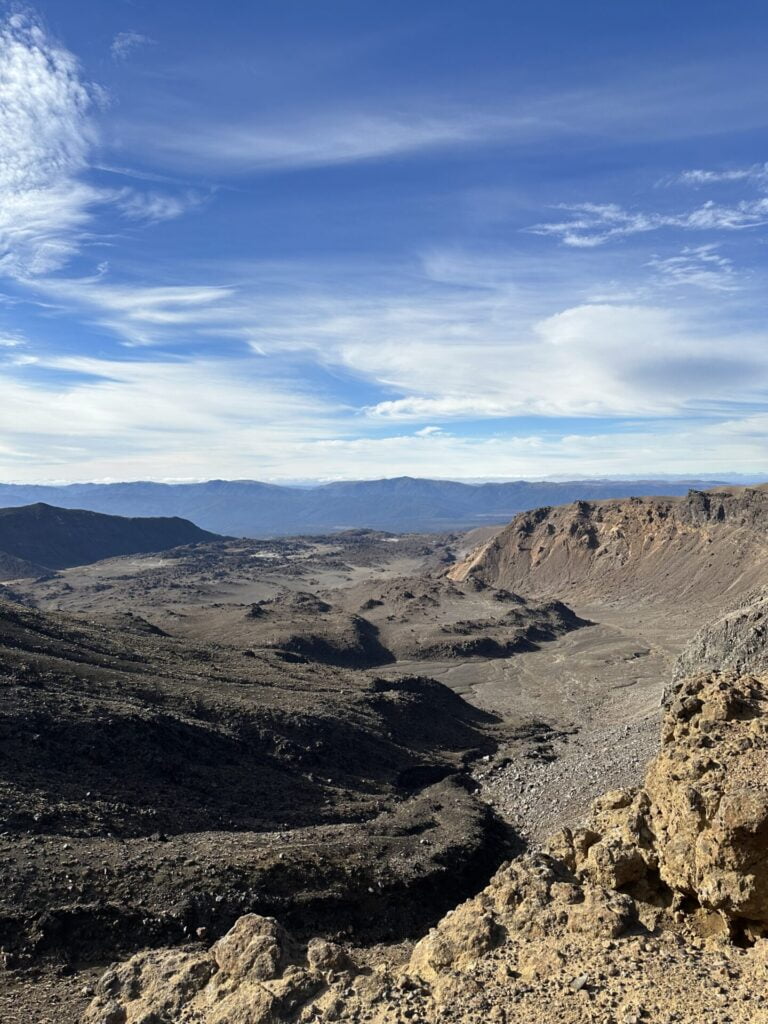
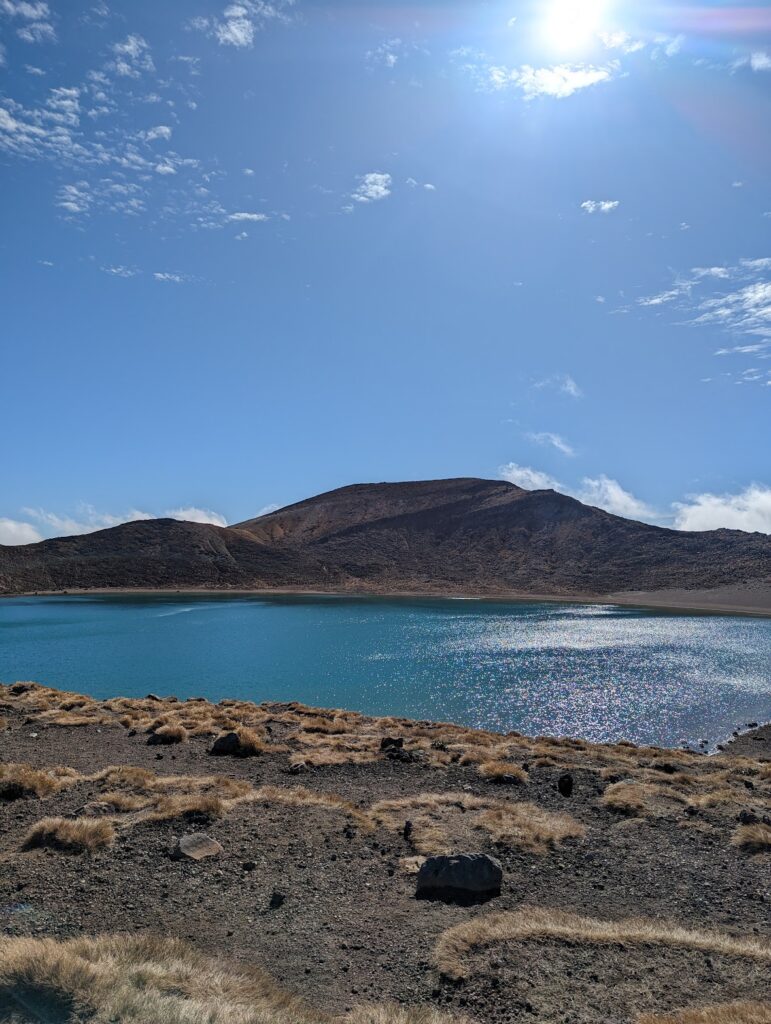
Now it’s time to go down. Despite reaching the peak, you still have more than half the hike to go (around 11km). Thankfully, the first couple of kilometres are relatively straightforward. You’ll walk on the flat for a bit before a short climb up to a ridge where you will see Blue Lake.
Once you’ve walked past the lake, the downhill begins. I won’t lie, this is long. It’s all very similar. It’s painful on the knees. You’ll walk down the switchbacks and eventually cross a bridge with a little bit of uphill. Shortly after, you’ll reach the final set of toilets.
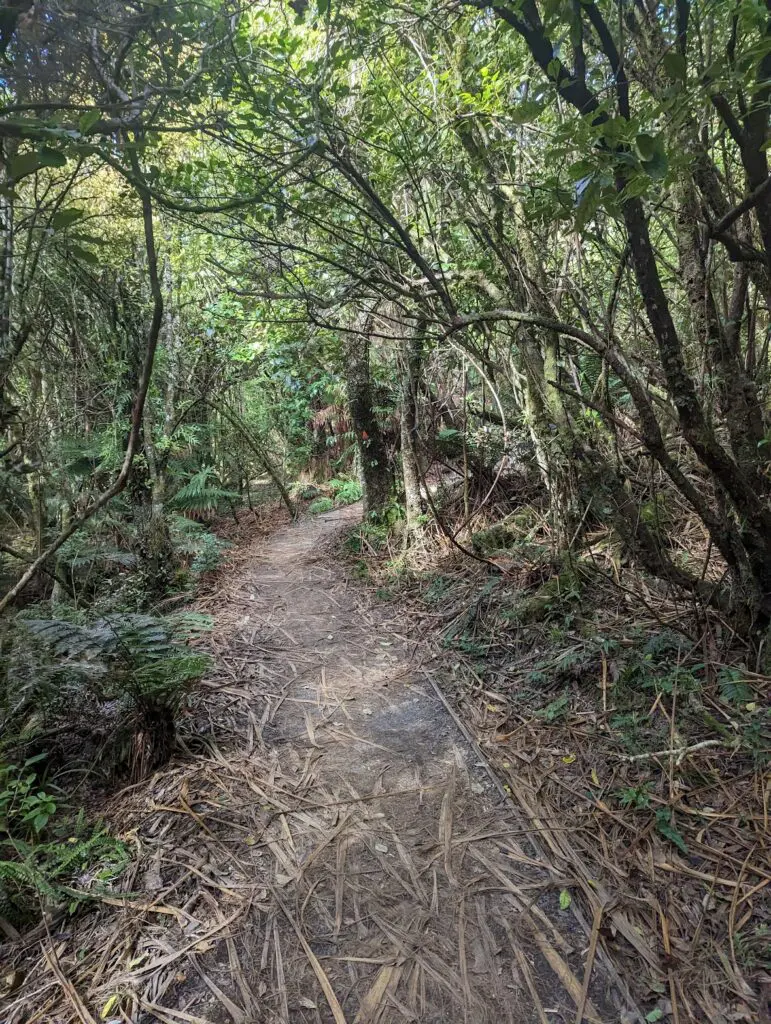
You’ll eventually walk into the forest and when you do, you’re almost there! It took us just under 45 minutes from here, but the DOC suggest it can take up to 90 minutes.
Despite it being downhill, the path is so well maintained so you generally don’t have to worry about anything being too technical or slippery – it’s just tough on the knees!
After walking for a while, the end car park will appear out of nowhere. If you parked in Ketetahi park and ride, it’s another ten minutes from here (sorry – but it’s all flat!).
Don’t underestimate the downhill. It’s long, it’s steep and tough on the knees. It took us almost 3 hours to get down. If you have hiking poles, you may benefit from using them here.
Can you hike the Tongariro Crossing in bad weather?
The shuttles will cancel their services if they feel the weather is too dangerous to hike. If they do so, don’t attempt the hike yourself anyway. They’ve cancelled it for a reason.
Generally, the Department of Conservation advises against hiking in bad weather which includes very high winds, snow or heavy rainstorms. It would be easy to get lost on the trails in bad weather and it takes a much bigger toll on your body.
Always check the weather forecast before starting the hike and make the decision based on your abilities. If you’re doing this hike for the views, there’s little point going up in bad weather anyway. Waiting for good weather is so worth the wait – I promise. There are a few other things you can do in the area to fill your time.
Hiking etiquette on the trail
As with all hikes, there are some basic rules to follow. This is not only to protect the environment but to keep you safe and make the experience as enjoyable as possible for everyone.
- Stick to the marked footpaths. The trail on this hike is well-marked and you should always keep to it. This environment is very fragile, and walking off the path can be harmful to plants and wildlife. It’s also a volcanic environment which means it can be very dangerous. It’s easy to get lost when you leave the footpath so stick to it for your own safety.
- Use the toilets. This is a sacred region and has huge spiritual significance to the Maori tribes. We’ve all been there on a hike before, nature calls and you have no choice but to find the nearest bush or tree, but not here. There are toilets provided at three points throughout the trek, as well as at the start and end. Use them.
- Leave no trace. Take everything you bring with you home. As annoying as it is to carry empty snack packets and used tissues, it’s important to take them back with you. This is a natural environment, no one wants to see your litter and it could be harmful to the wildlife.
- Respect other hikers. Everyone is here to have a good time, and a level of basic respect for others you meet is common courtesy. There are narrow parts of the trail and you may have to move to the side for other hikers. If someone is walking faster than you, let them pass. They’re not being rude or rushing, they’re simply hiking at a pace that suits their needs and ability. Also, PLEASE don’t play loud music from a speaker or phone. Please. No one has climbed a mountain to hear your music and it can really ruin the experience.

Are there toilets on the crossing?
Yes, not only are there toilets at the start and end but also at three points throughout the trek (around every 90 minutes). You’ll find them at Soda Springs, the top of Devil’s Staircase, a little after Blue Lake and right before you hit the forest.
Other things to do in Tongariro National Park
If the weather is bad then it’s highly recommended not to attempt the hike. This is for your safety but also so you get to enjoy the best that the crossing has to offer.
Here are a few other things you can do in the area to fill the time.
- Visit Lake Taupō: this huge lake is the largest freshwater lake in the Southern Hemisphere. It’s only about an hour’s drive from Tongariro and there are plenty of viewing spots and reserves where you can enjoy nature at its best.
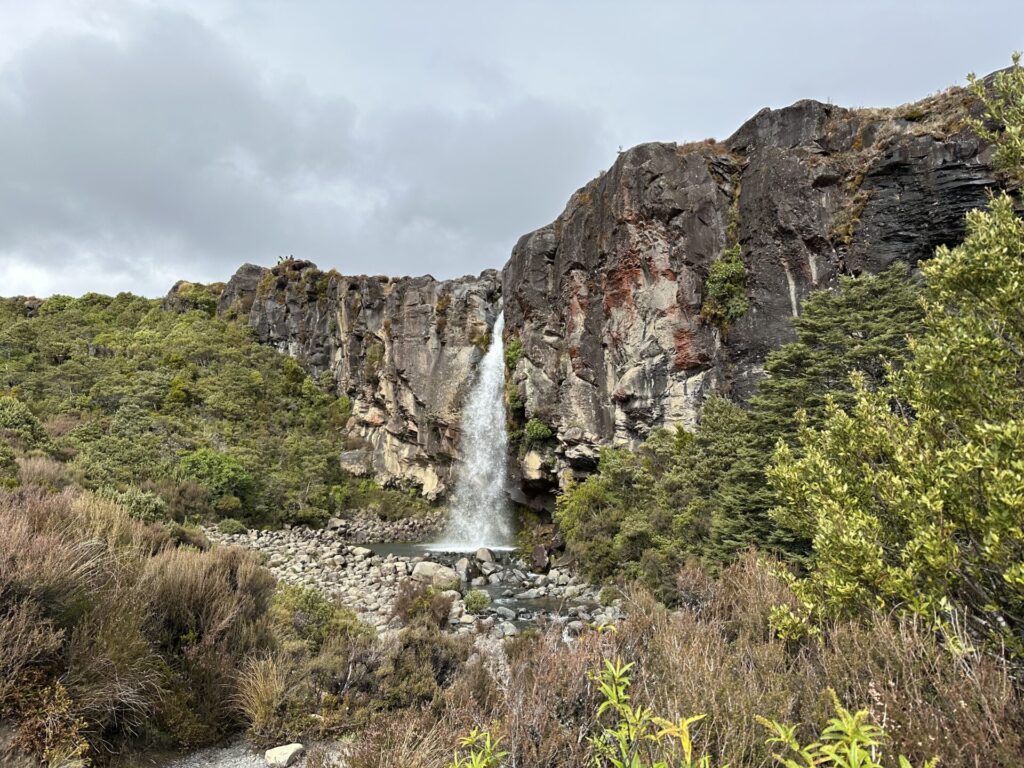
- Tawhai Falls: this cute little waterfall is about a 20-minute stroll from the car park. It’s well-maintained and a suitable activity for those rainy days.
- Taranaki Falls: another stunning waterfall, this loop walk is 3.7 miles (6km) long. It took us 90 minutes to do the full loop. There is a bit of incline and quite a few steps, but the trail is well-maintained and can be enjoyed in rainy weather.

If you simply want to spend more time in this stunning area, here are a few other activities to be enjoyed on a pleasant day.
- Tama Lakes Track: this is an extension of the Taranaki Falls loop. It’s a total of 10.9 miles (17.4km) and is meant to offer stunning views. I wish we had time to do this, but the day we had set aside was rainy and poor weather, so we opted against it.
- Sky Waka Gondola: ride up the gondola for panoramic views of the area (on a sunny day). While you’re there, there is a short 1.5-mile (2.4km) climb that involves scrambling and ladders.
- White river water rafting: the area is popular for river rafting, Tongariro River Rafting offer this activity and has all the info on their website.
Summary
The Tongariro Alpine Crossing is a highlight of a trip to New Zealand. With its unique and stunning scenery, it’s no surprise why this day hike is one of the most famous in the world. I’m so glad we did the hike, it’s certainly something I will never forget. However, it’s very important to plan and prepare as much as possible for this hike. It’s no easy feat to complete it. At the end of the day, the more you are prepared the more you will enjoy it the way you should. It truly is spectacular.
For more hiking inspiration, here are the best day hikes in New Zealand.

